Configure a chat account in Thunderbird application
You can configure a chat account in Thunderbird to send or receive instant messages to the contacts on your roster.
Steps to configure a Chat Account
- If you are configuring an account for first time, Thunderbird shows the following notification message. Click the Get Started button to open a account configuration wizard.
Click to open the Thunderbird Menu and choose the Account Settings menu item.

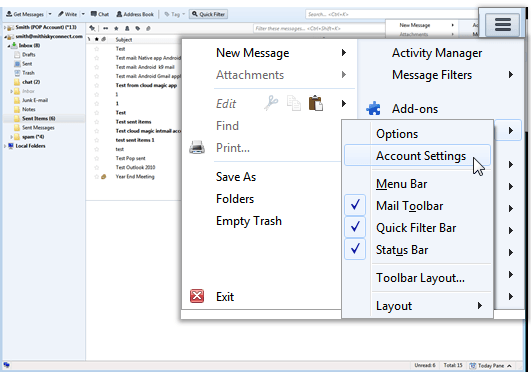
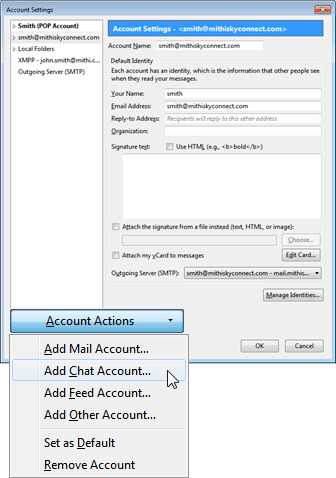
- On the Account Settings dialog-box, click the Account Actions list-box and choose the Add Chat Account option.
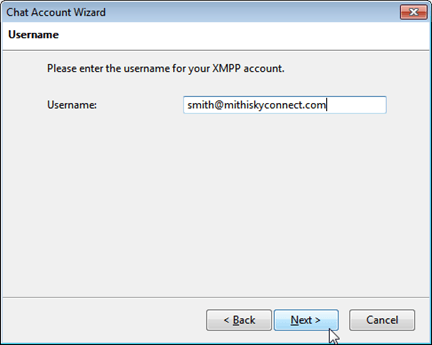
- On the Chat Account Wizard, select the XMPP option as the type of account to be configured.

- Provide Username of the account and click the Next button.
Using Mithi SkyConnect trial account? Use the User Id received in the Welcome Mail and Password provided by the Mithi team.
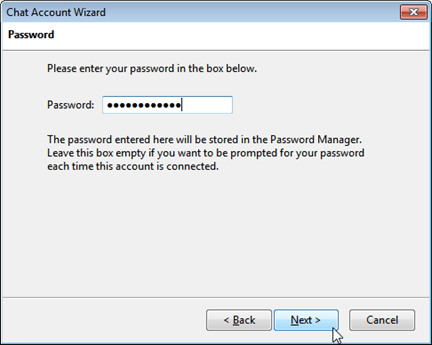
- Enter Password associated with the account and click the Next button.
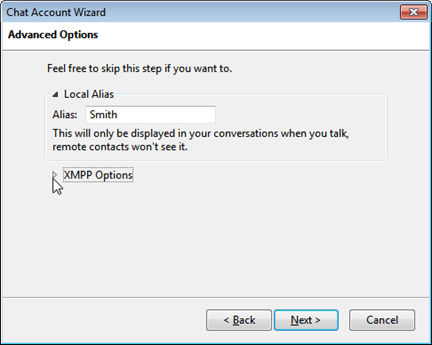
- On the Advanced Options page,
- Specify Alias which displays in your conversations when you chat.
- Click to view the XMPP options.
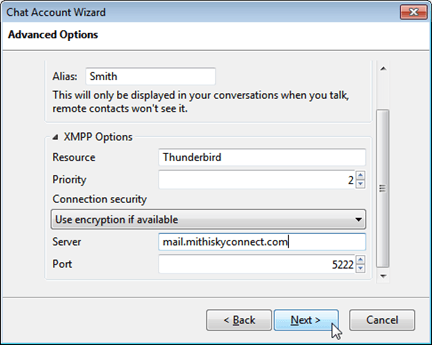
- Provide XMPP Options -
- Priority: Enter the value 2
- Connection Security: Select the Use encryption if available option
- Server: Enter Server name of the chat server. For example: mail.mithiskyconnect.com
- Port: Choose 5222 as the Port value for connection the chat server
- Click the Next button.
- Chat wizard shows the Summary of the account information provided. If all the information provided is correct then click the Finish button to proceed. Or, you can click the Back button to go back and update the information.
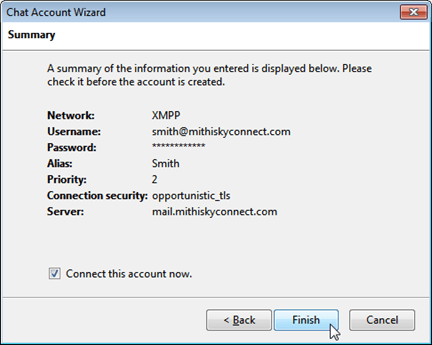
- Thunderbird configures the account if all the information provided is correct.


Manage your chat account configured in Thunderbird
Adding a contact to the roster
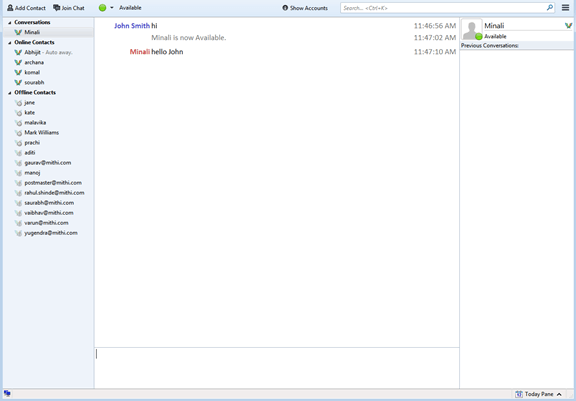
After successful configuration, Thunderbird fetches all the contacts from the server and displays in the roster. You can add a contact to the roster by following steps mentioned in the below procedure.
Steps to add a contact to the roster:
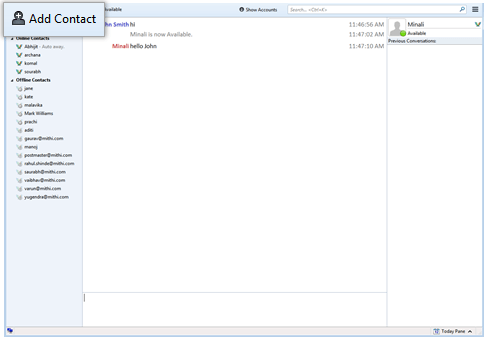
- On the menu bar, click the Add Contact button. The Add contact dialog box displays.
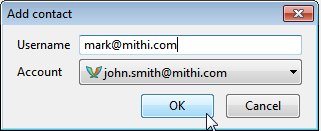
- On the Add contact dialog box, - Enter Username of the contact which needs to be added to the roster. - Make sure, in the Account box your account is selected.
- Click the OK button to proceed and add the mentioned contact in the roster.


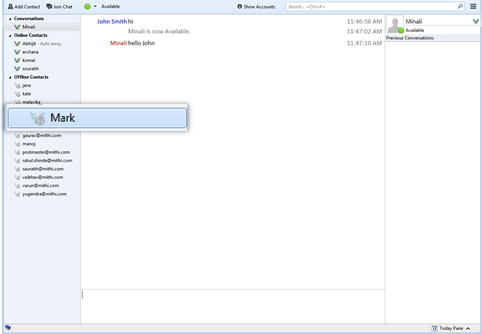
Renaming a contact
By following the steps mentioned below, you can rename the contact name which displays in the roster. Steps to rename a contact:
- Right-click the contact in the roster which needs to be renamed. A menu displays.
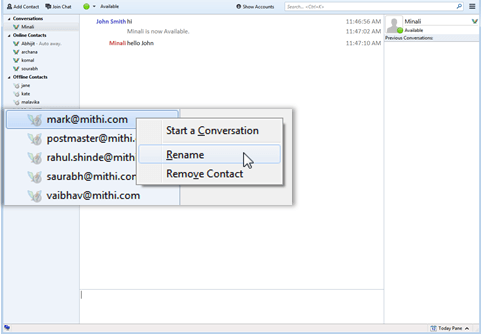
- Click the Rename option from the menu. Contact name in the roster gets highlighted.
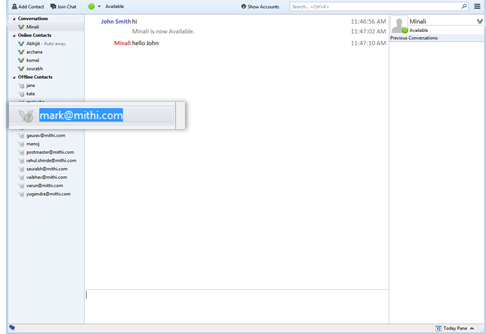
- Edit the contact name and press the Enter key. Application updates the contact name.


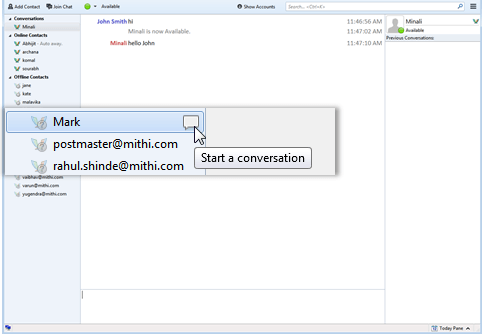
Starting chat with a contact
You can start the chat session with the contacts present in the roster. To start the chat session:- Click the contact in the roster. Or Right-click the contact which displays a menu. Click the Start a conversation option from the menu.
- Type the message and press the Enter key to send it.

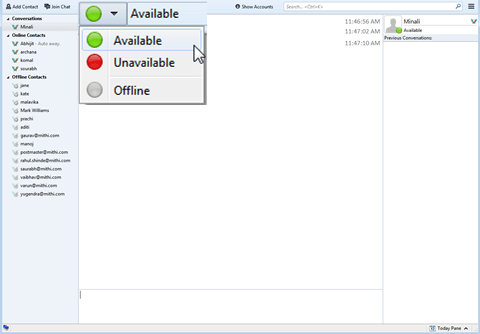
Managing presence status
Presence status indicates your current status of availability to chat with other members in the roster. As you sign on, Thunderbird shows your presence status as Available indicated by a green circle. You can change your presence status to Not Available or Offline. The presence status Not Available is indicated by Red circle means you are busy. And, the presence status Offline indicated by gray circle means you are not online. To change your presence status:- On the menu bar, click the Green Circle to display a list of presence status menu.
- Choose the appropriate presence status.

Removing a contact from the roster
By following the steps mentioned below, you can remove a contact from the roster.- Right-click the contact in the roster which needs to be renamed. A menu displays.
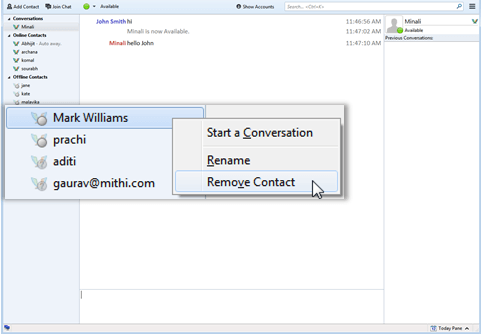
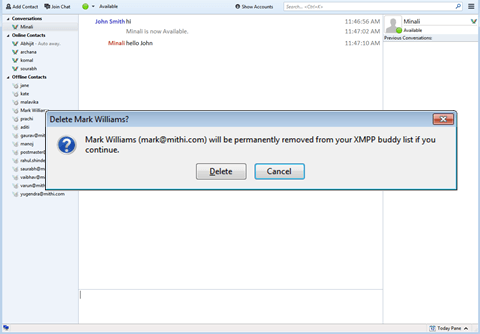
- Click the Remove contact option from the menu. A message displays to confirm the removal of the contact.
- Click the Delete button to proceed and remove the contact from the roster. Application removes the contact from the roster.