- Navigate to the Admin Center > Exchange screen
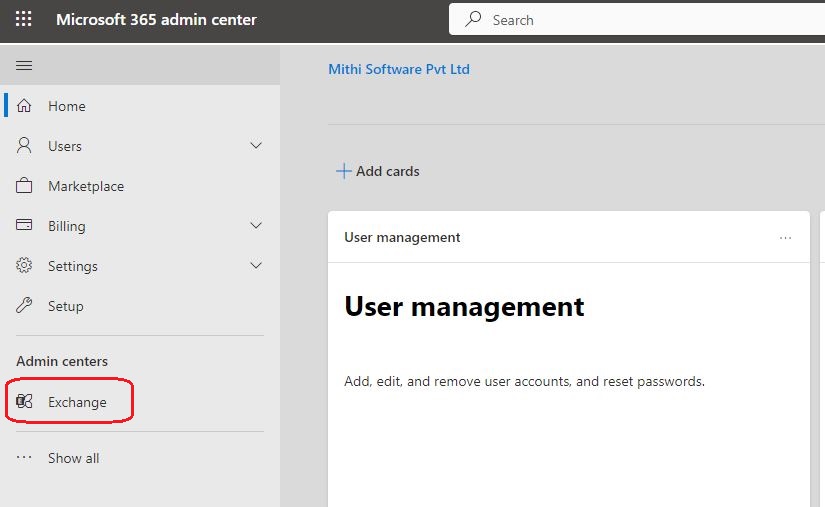
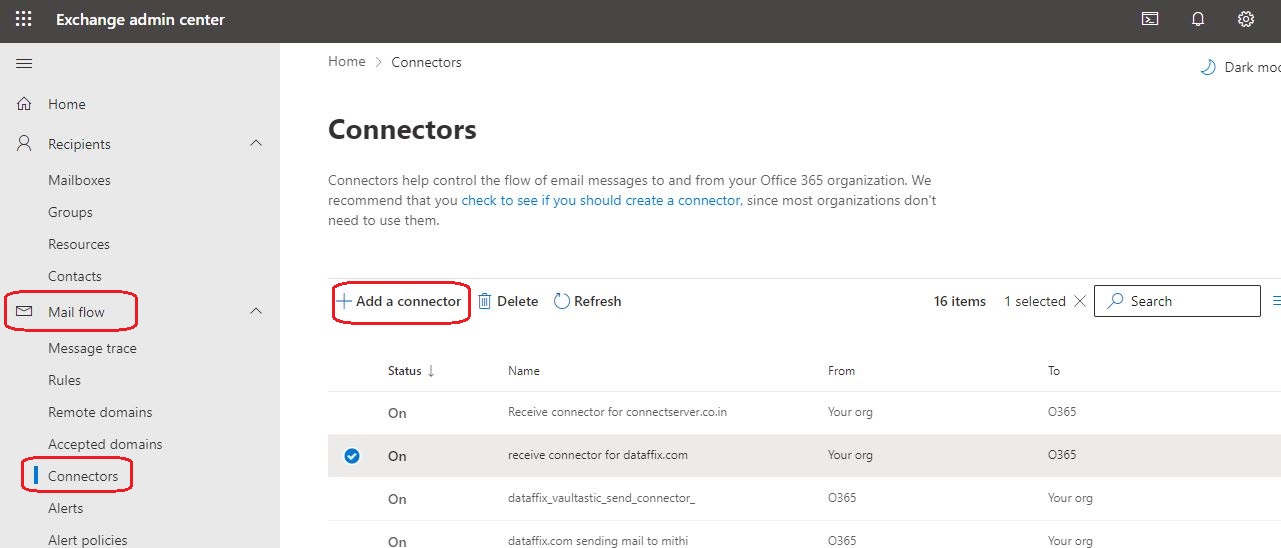
- Select the mail flow => connectors option
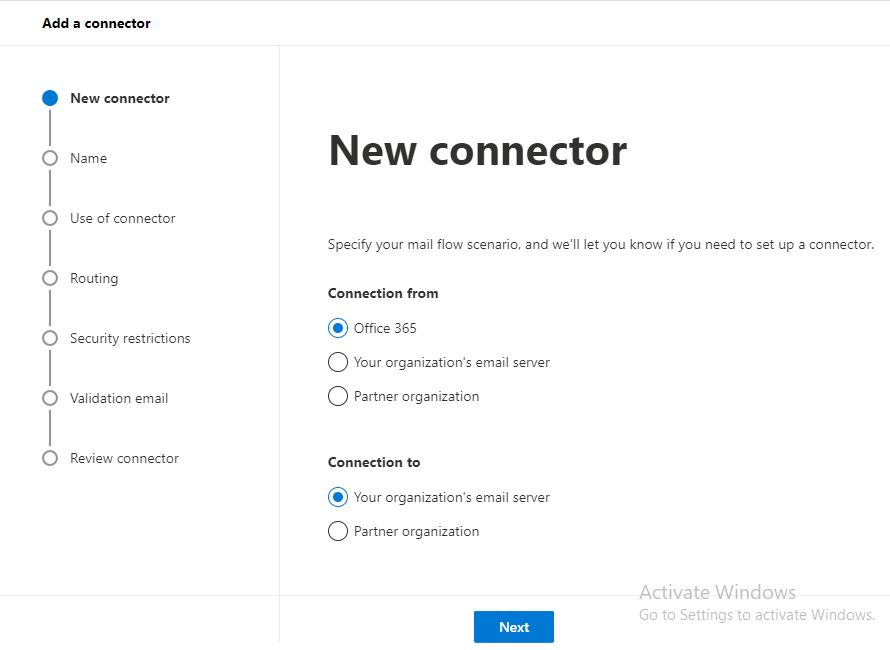
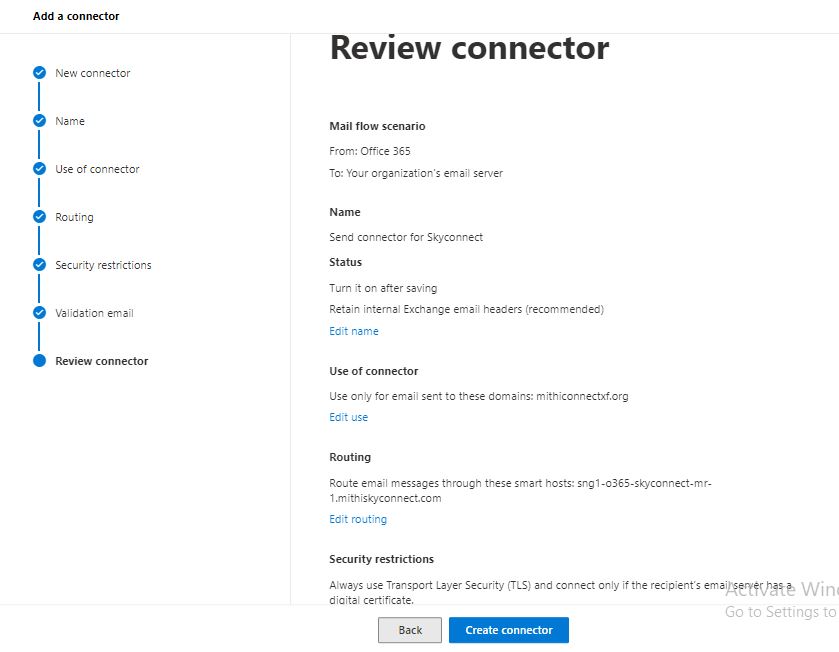
- Create the connector From : Office 365 TO: Your organization’s email server
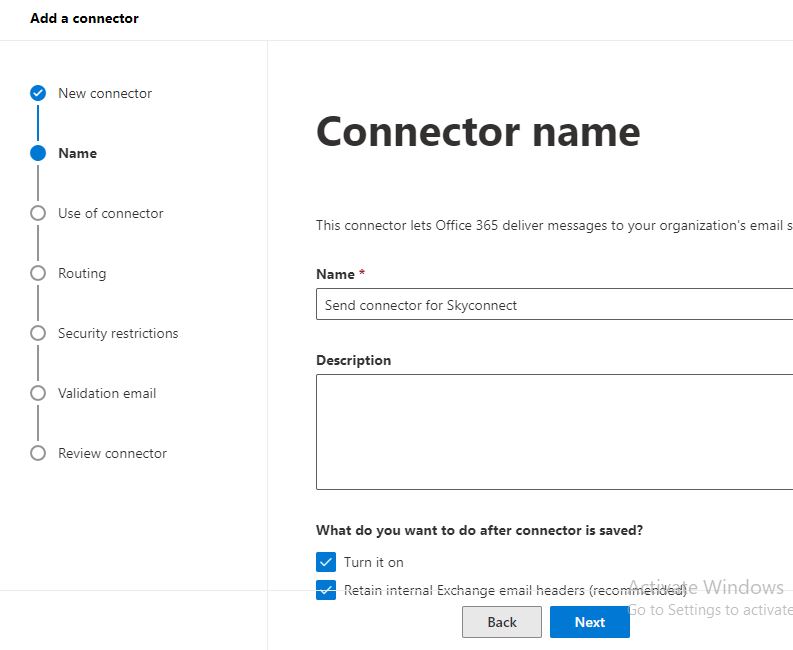
- Give a name to the connector.
- Select Turn it on
- Select Retain internal Exchange email headers.
- Click Next to continue
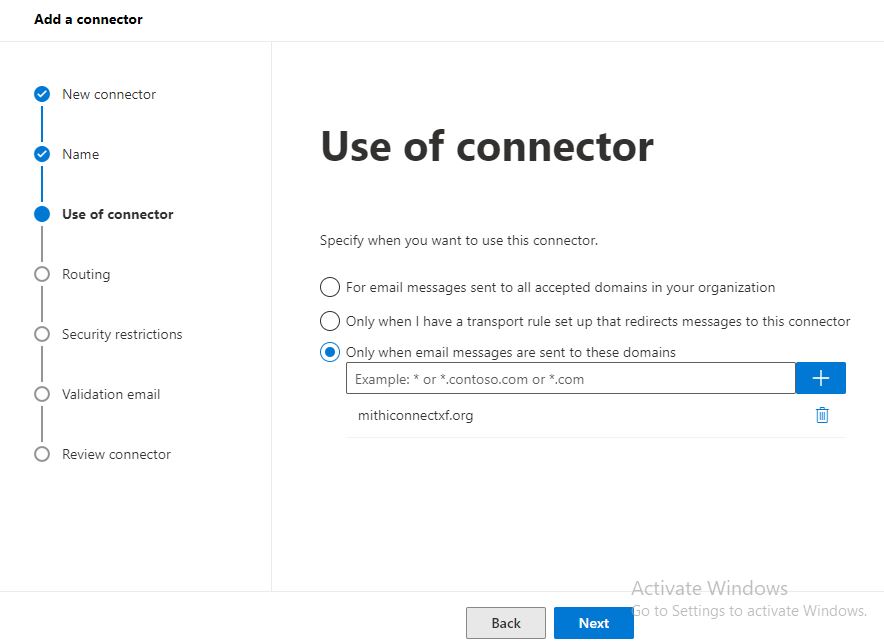
- In Use this connector, select Only when email messages are sent to these domains
- Enter your domain name and click +
- Click Next
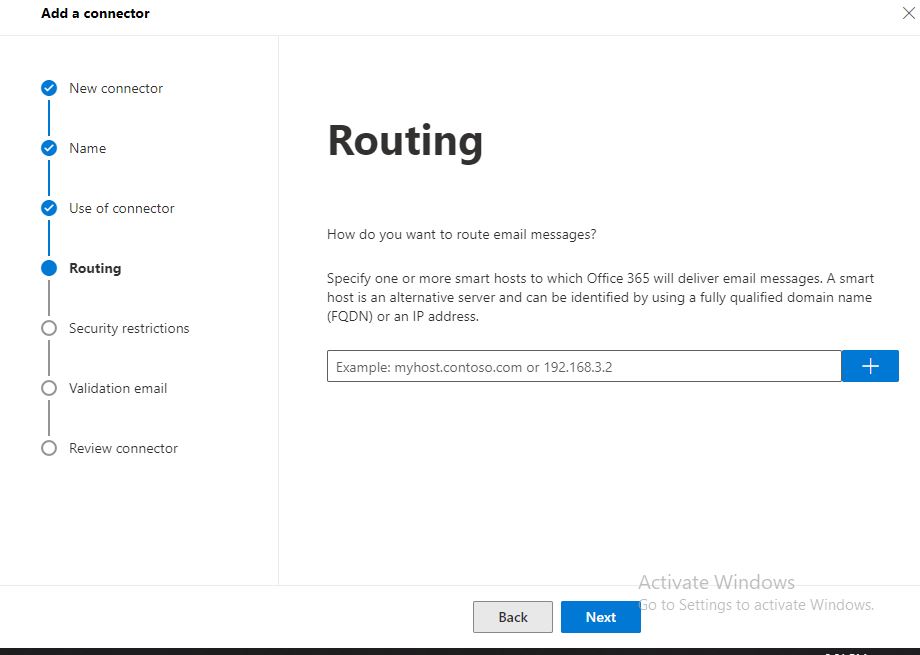
- To route email messages, specify the smart host name of the domain hosted on SkyConnect. Contact Mithi Customer Care for the host name to be specified.
- Click Next
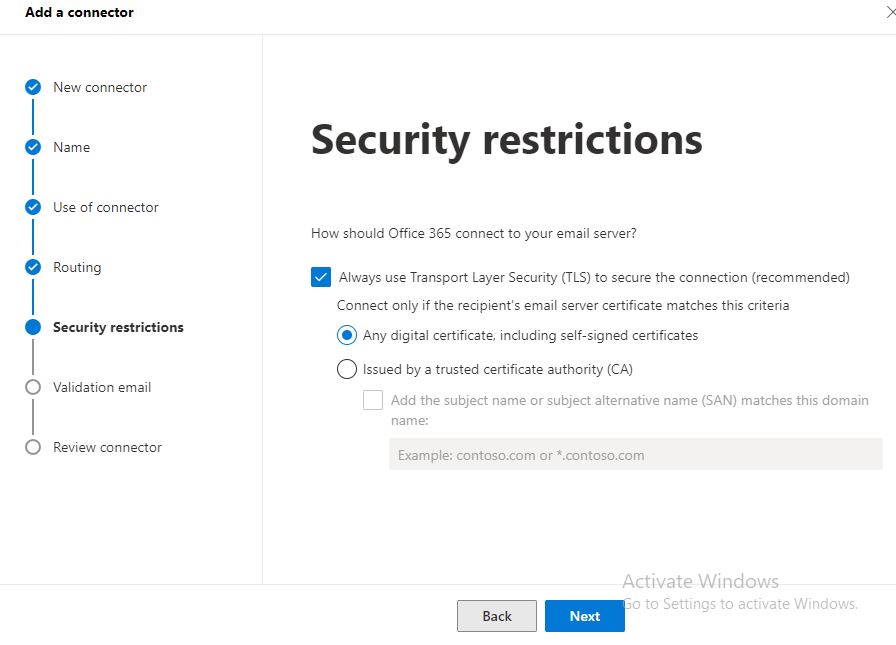
- Always use Transport Layer Security (TLS) to secure connection from Office 365 to SkyConnect server.
- Select Any Digital certificate
- Click Next
- To validate the connector, enter the postmaster id (postmaster@<yourdomainname>) and test mail flow from Office 365 to SkyConnect. (The image below shows the configuration for domain mithiconnectxf.org.)

- On successful validation, click Create Connector to save the connector to the list.


Note: In case, if the SMTP connector fails to send a test email, save the connector and proceed with the next steps.