Overview
The Ideolve interface is made up of
- The Application Bar
- The List view

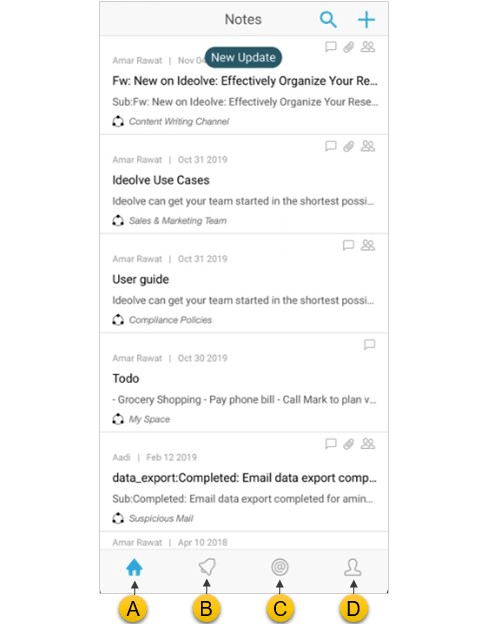
Application Bar
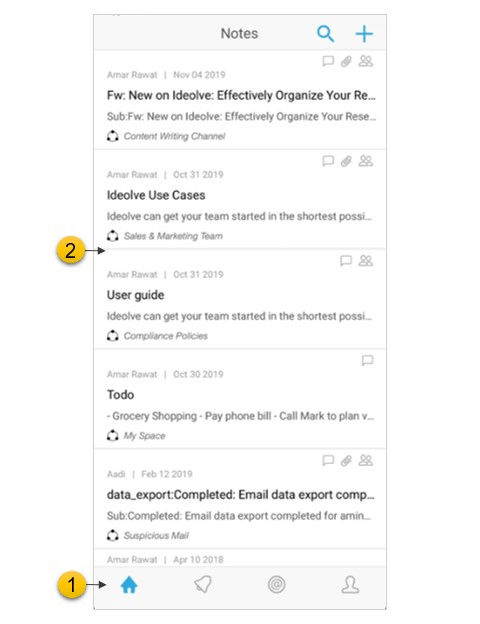
On the bottom of the screen is the Application Bar. The options on the Application Bar allow you to switch between the
- Home
- Notifications
- Mentions
- User Settings

List view
The list view displays all the list of notes available in your account. Depending on whether you have selected Home, Notifications, Mentions the list view contents will change.
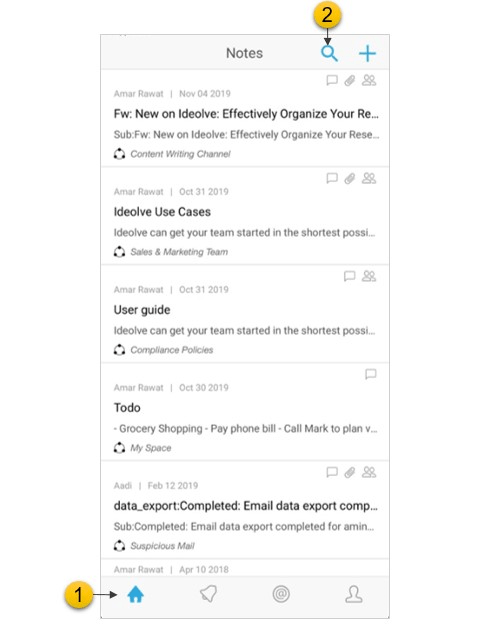
A. Home
- Clicking on Home will show the list of Notes
- Top of the Notes list is the Search Box. You can search through the notes using the keywords or authors specified here.
- Notes which satisfy the search criteria are displayed in the list
- If there is no search criteria defined, the note with the latest change or update will be at the top of the list

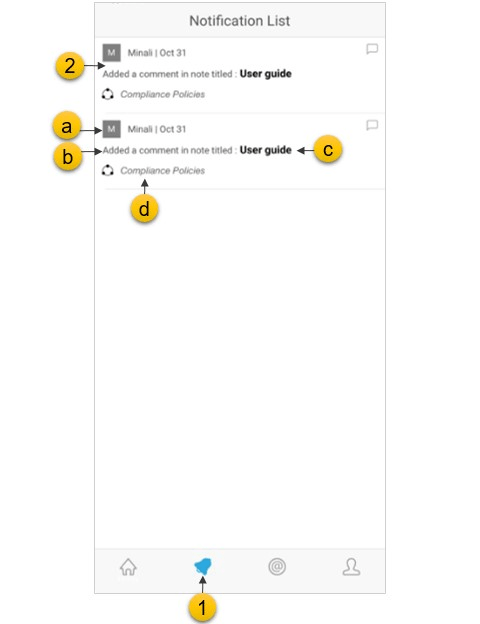
B. Notifications
- The notifications list view will have the list of changes to all the notes you have created or shared with you. The latest notification will be at the top of the list.
- Each notification has the following:
- The author
- The action taken
- The Note title
- The workspace to which the note belongs
- Tapping on the notification will open the note
- New notifications will be highlighted (with the color blue). To remove the highlight,
- Navigate to the note by tapping the notification
- Read & tap the comment / note

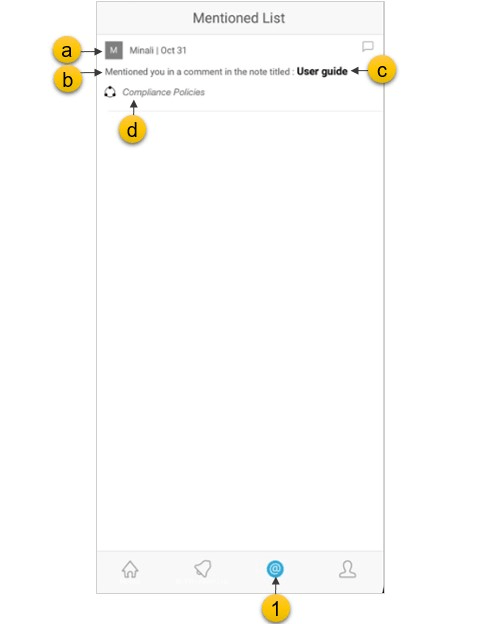
C. Mentions
- The list of all notes or comments in which you have been mentioned will be listed. The latest mention will be at the top of the list.
- Each mention will have
- The author
- The action
- The Note title
- The Workspace to which the note belongs
- New mentions will be highlighted (with the color blue). To remove the highlight,
- Navigate to the note by tapping on the mention
- Read & tap the comment / note

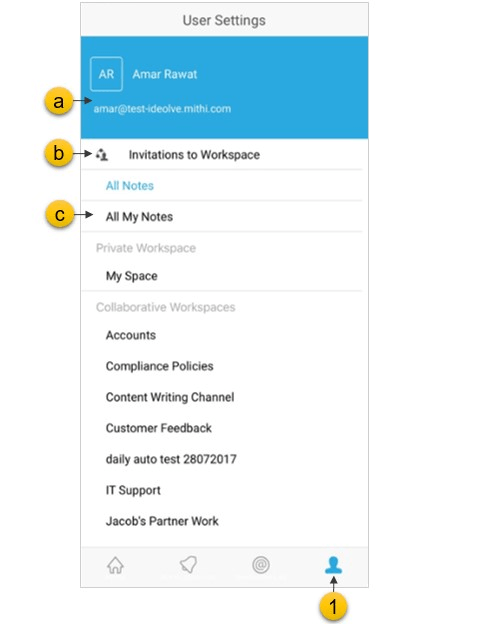
D. User Settings
The top of the list view shows the selected Notes filter. Tapping on the selected Notes filter will open the Workspace manager. Using the Workspace Manager, you can:
- Change the Note filter
- Invite users / Rename workspaces
- View the list of users invited to a workspace
- Pin Workspaces
- Create or send invitation to join workspaces

Note View
An Ideolve Note view consists of
- Note header
- Note content
- Note comments
- Action bar
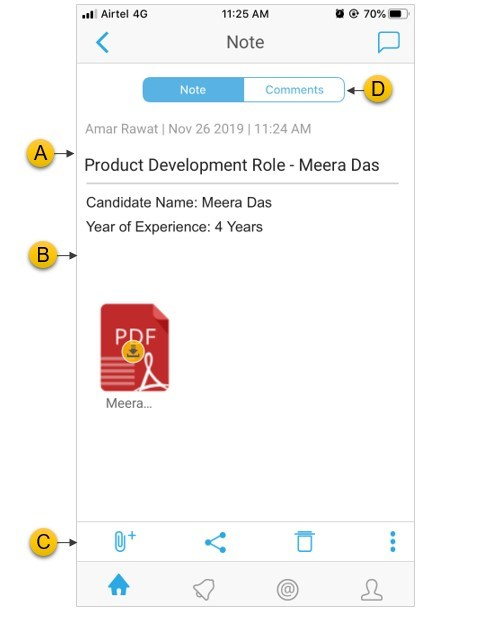

A. Note Header
At the top of the detail view is the Note Header. The Note header is fixed at top of the Detail view and will not move even as you scroll through the note content and comments.
In the Note header you will see
- The note title
- The author of the note
- The date and time of the last update to the note
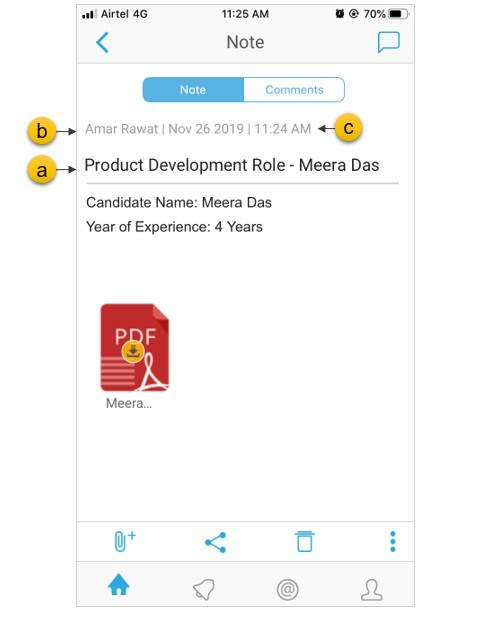

B. Note Content
The note content is the text, table and images you add to the note. Only note owners can edit the note content. The note can be formatted using the tool bar.
You can also insert files, images and links.
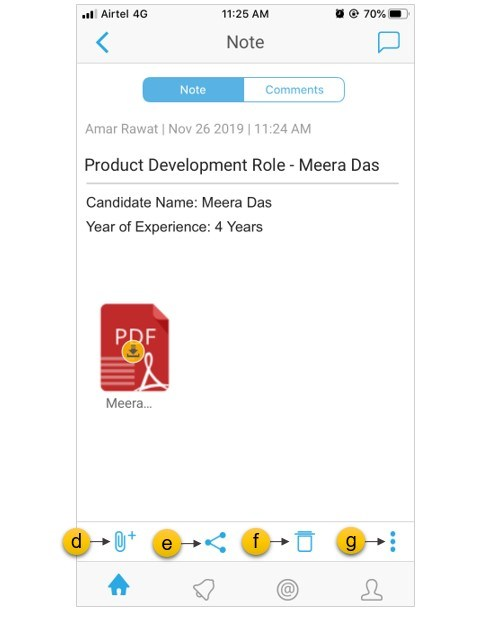
C. Action Bar
In the Action bar at the bottom, you will see the following:
- A attachments icon to attach files to the note
- A share icon, to share the note with other people
- A delete icon to delete the remove the note from the list
- A options menu holding options to share the note via other apps and to see associated users of the note

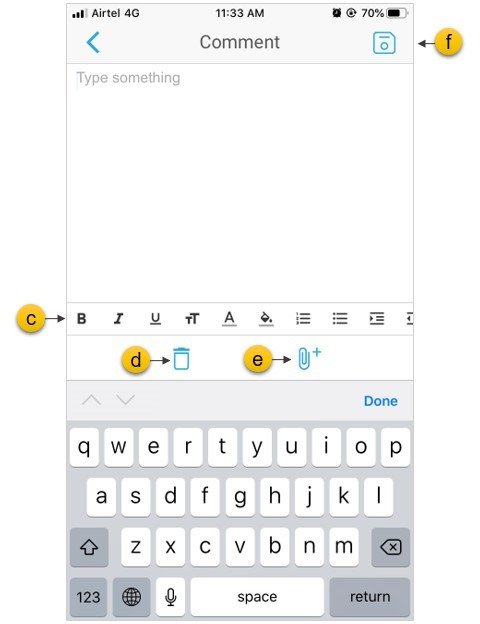
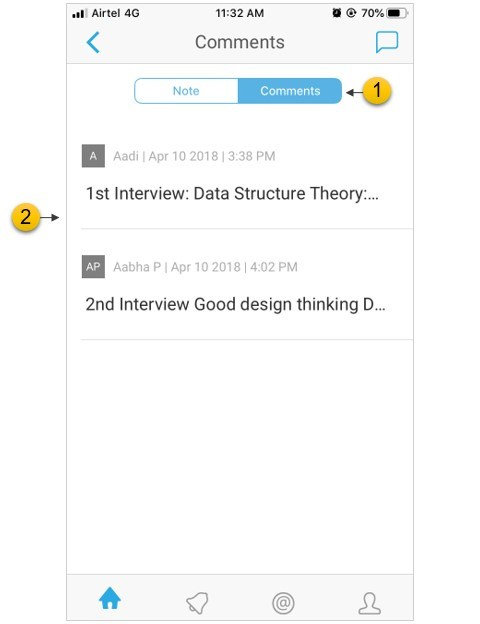
D. Comments
If you have shared a note with a collaborator, he or she can attach comments to the notes. You too can attach comments to your own notes. To attach a comment, click on the comment icon at the top right of the Note view.
- Selecting the Comments tab will show a list of comments added to the note.
- Select the comment to view the content of the comment.
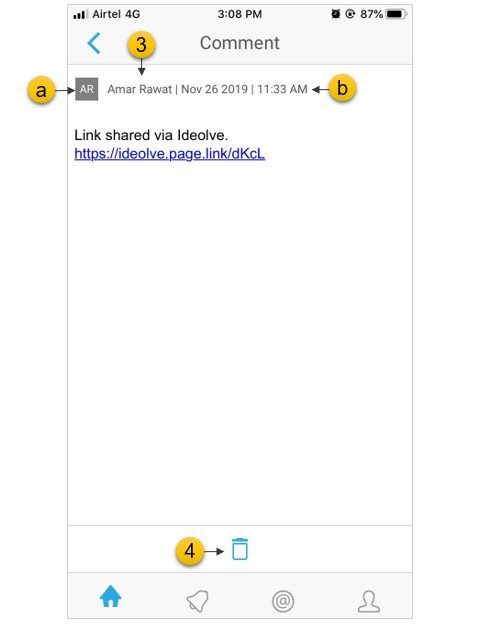
- At the top of a comment you will see the comment header. On the left side of the comment header you will see the following elements:
- Name of the author of the comment
- Date and time of the last update to the comment
- If you are the author of the comment, you can delete the comment using the delete icon in the action bar at the bottom of the comment.
- The comment header of a new comment will have the following controls on the right hand side
- Tool bar to format the content
- A delete icon to discard the comment
- A file attachment icon, using which you can attach documents to the comment
- A save icon to post the comment