A: Configure the Lightening Plug-in
Lightening an extension to Thunderbird allows you to- Create calendars
- Subscribe to calendars on the web
- Manage your schedule within Thunderbird
a. Download and install Mozilla Thunderbird Ver 60
Download Mozilla Thunderbird (Version 60 )
- If you are a Thunderbird user upgrade the application to Ver 60 .
- Choose the appropriate link given below to download Thunderbird and save the file to your system.
Operating System Download 32 Bit Download 64 Bit Windows Thunderbird V 60 Thunderbird V 60 Linux Thunderbird V 60 Thunderbird V 60
Install the Thunderbird on your machine.
Follow the link to find the steps to install Mozilla Thunderbird on
b. Download and install Lightening Plug-in
Download Lightening Plug-in
- Remove the prior version of the Lightening plug-in installed on your machine.
- Choose the appropriate link given below to download the plug-in and save the file to your system.
Operating System Download 32 Bit Download 64 Bit Windows Lightening Plug-in Lightening Plug-in Linux Lightening Plug-in Lightening Plug-in
Install Lightning Plug-in
- Launch the Thunderbird application
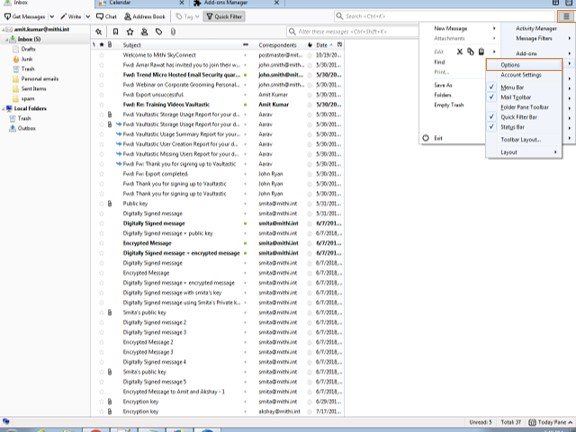
- On the Tools menu, click the select Add-ons option
- On the Add-ons dialog window, - Click the Install button - Locate and select the downloaded Lightning Plug-in file - Click Open to start software installation
- The Software Installation process begins
- Application displays a message to confirm if you want to Install add-ons only from authors whom you trust.
- Click the Install Now button.
- On successful installation, Restart Thunderbird.
- Now, Thunderbird shows the Events and Tasks menu option in the main menu.
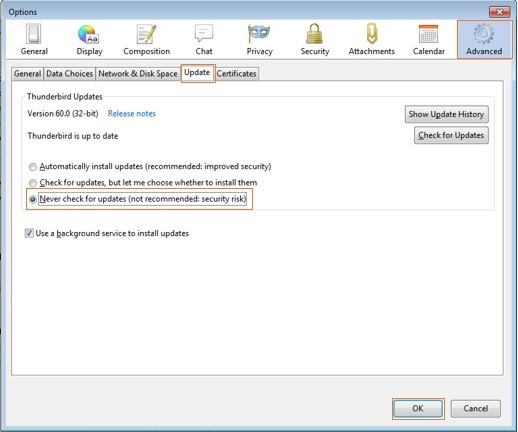
c. Disable Automatic Updates for Thunderbird and Add-ons
Firefox occasionally checks to see if any updates are available for itself and for your search engines. To disable these checks:- Click the Menu button and choose Options.

- Go to the Advanced => Updates tab
- Check Never check for updates (not recommended) and uncheck Automatically update search engines.
- Click the OK button to save the changes you've made.


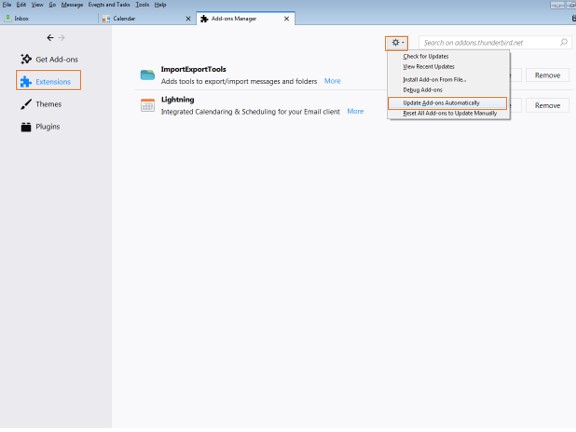
d. Disable Lightening Plug-in Automatic Updates
Firefox also checks to see if any updates are available for your add-ons (extensions, themes). To disable this check:- Click the Menu button and choose Addons-icon to open the Add-ons Manager window.
- In the Add-ons Manager window, at the top of the tab, click the Tools for all add-ons icon, uncheck Update Add-ons Automatically and then click Reset All Add-ons to Update Manually.


B: Configure your Calendar in Thunderbird
a. Copy the Calendar URL using Baya V4
- Log in to your webmail account and navigate to the Settings > Add Calendar section.
- Copy the URL of the calendar account you want to configure
b. Configure your calendar in Thunderbird
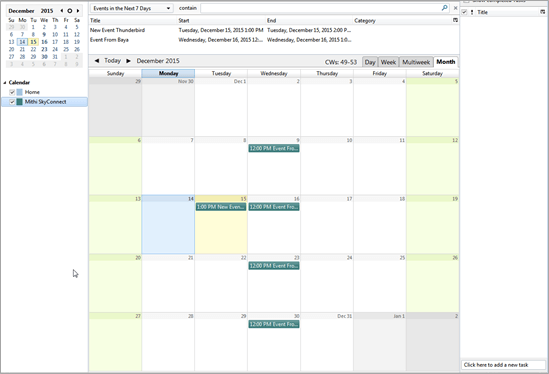
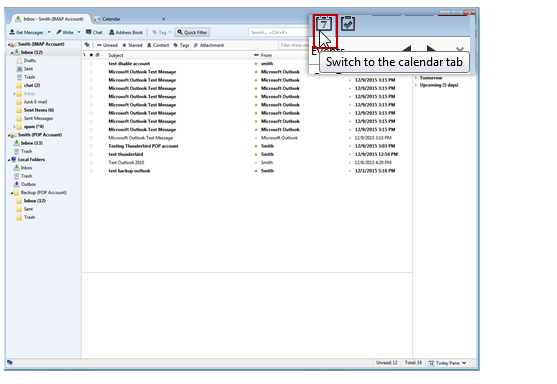
- Launch the Thunderbird application, and switch to the Calendar tab.
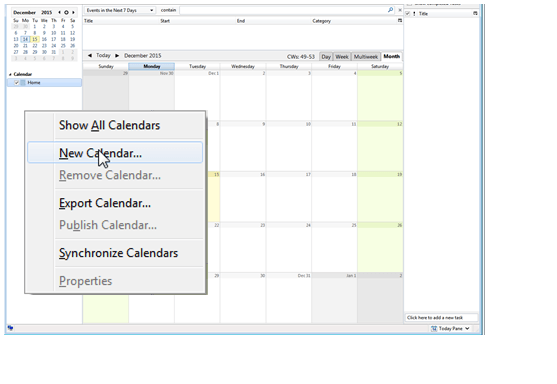
- Right-click on the Calendar pane and choose the select New Calendar option
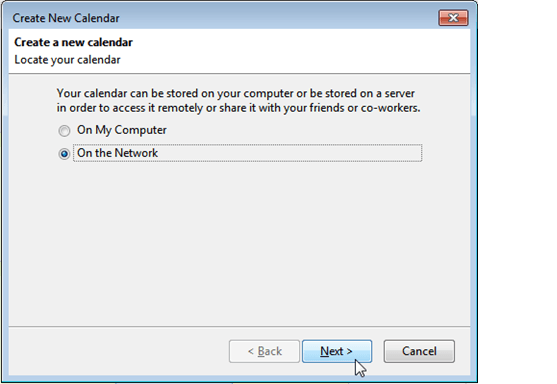
- On the Create new calendar dialog-box,
- Select On the Network as the location of your new calendar.
- Click on Next.
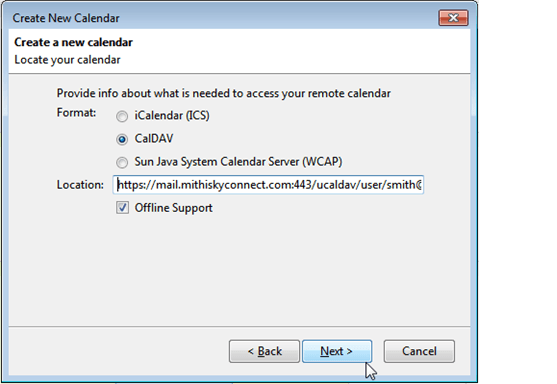
- Choose the CalDAV option as type of calendar to be configured.
- In the Location box, paste the Calendar URL copied using Baya V3
- Click the Next button to proceed.
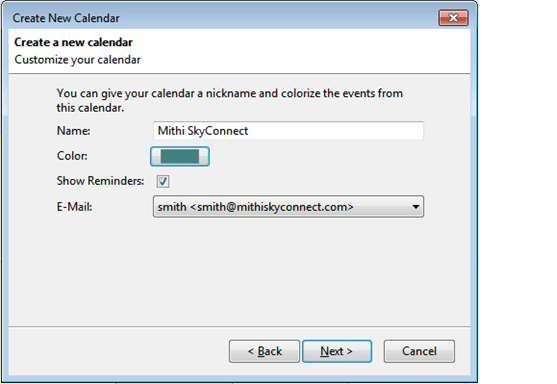
- Customize the calendar by specifying a name and a color.
- Important: The field E-Mail has to be left blank. Click Next.
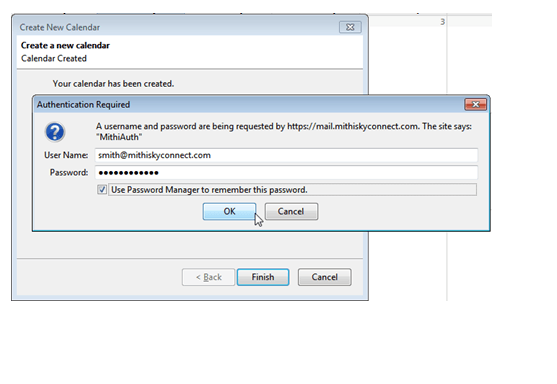
- For the first time login to the calendar, you will be asked to specify your user name and password in the Authentication Required dialog box. -Enter your complete email id in the User Name field and your email account password. -Click OK.
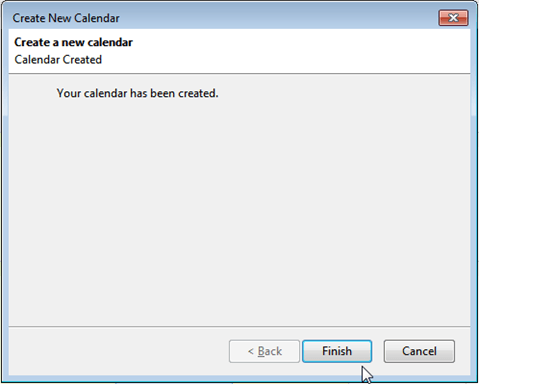
- On creating the calendar successfully, Thunderbird displays a message on the screen. Click Finish to exit the process.
- Thunderbird syncs all the events and tasks created by using the web client Baya. You can add, mdify, or delete the calendar entries using Thunderbird. In addition to pop-up alerts, you can receive email alerts for the upcoming events and meetings if the calendar alarm service on your server is on.