Configure your calendar in Outlook 2016
Steps to configure your calendar in Outlook 2016- Step 1 - Download and install extension
- Step 2 - Open Webmail and copy the CalDAV URL
- Step 3 - Configure your calendar
- Step 4 - Manage events in your calendar
Step 1: Download and install extension
To sync your calendar in Outlook you need to download and install the extension Outlook CalDav Synchronizer. After you have installed it on your computer, you need to restart Outlook. The extension will then be visible in Outlook as a tab in the blue ribbon at the top.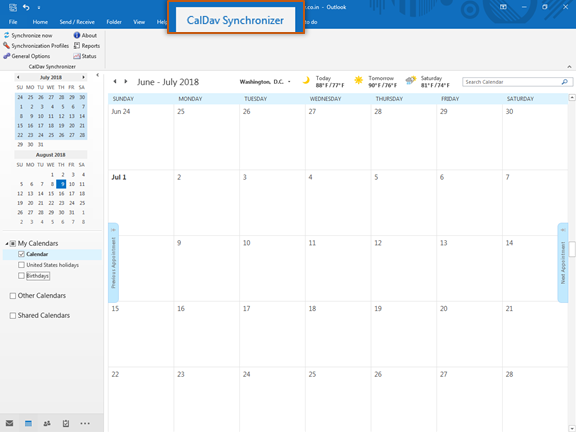
Outlook and the CalDav Synchronizer extension are third party products. This means that Mithi has no control over any changes or updates, that may cause it to stop functioning.
Step 2: Open Webmail and copy the CalDAV URL
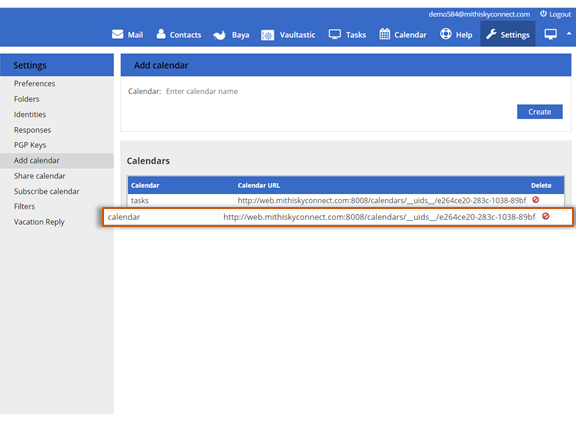
- Log in to your webmail account and navigate to the Settings > Add Calendar section.
- Copy the URL of the calendar account you want to configure in Outlook 2016.
Step 3: Configure your calendar
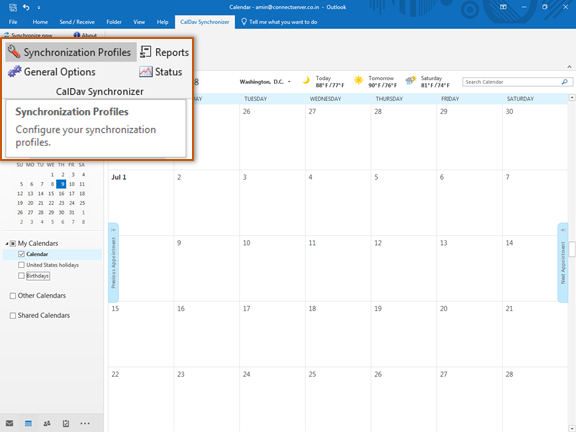
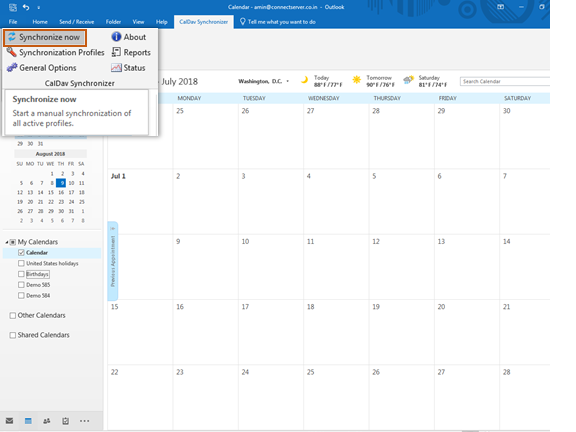
- Open Outlook and click the tab CalDav Synchronizer, at the top of your screen.
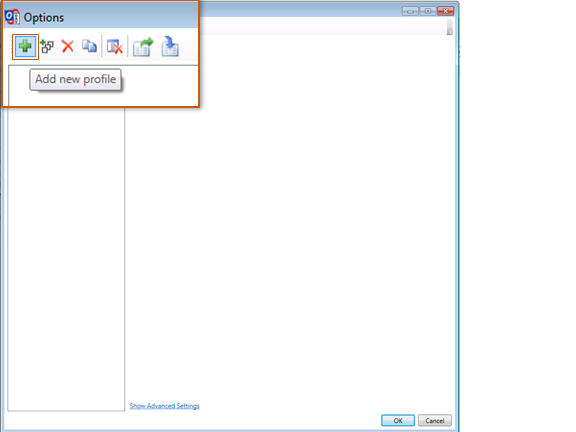
- Click Synchronization Profiles to start setting up your calendar.
- Create a profile for your Webmail calendar.
- Click the green + icon in the top left corner.
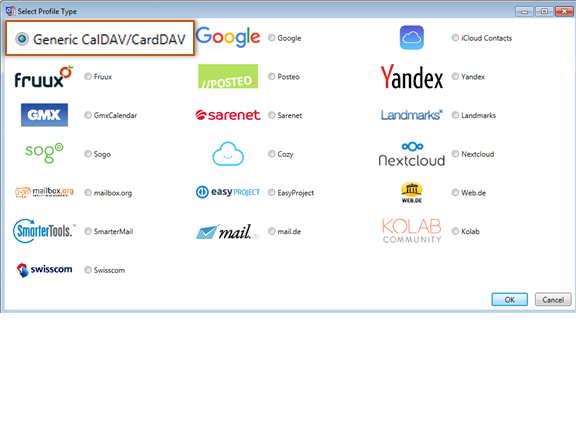
- Select Generic CalDAV/CardDav as a profile type.
- Click Ok.
- Click the green + icon in the top left corner.
- Give a Name to the profile.
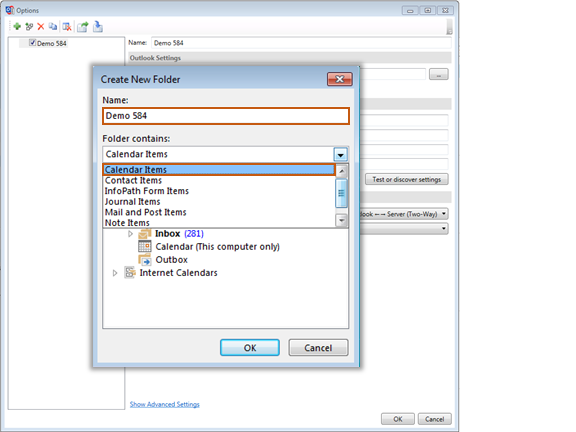
- Create CalDAV folder in Outlook
- Click the ... option next to the input field for Outlook folder.

- Create a New calendar folder under your Outlook Data File.

- Give a Name to the folder.
- From the Folder contains list, choose the Calendar Items option.
- Click Ok to save.
- Click Ok to proceed.
- Click the ... option next to the input field for Outlook folder.
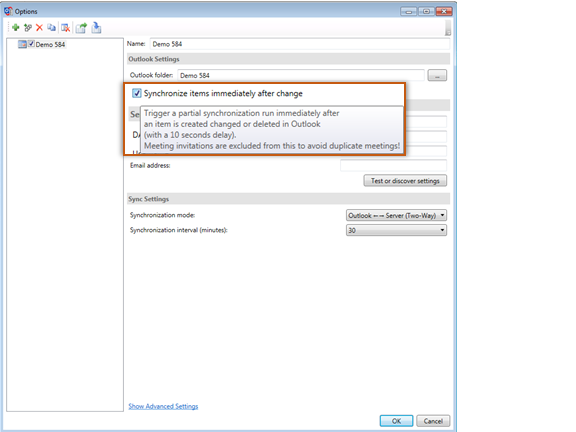
- Select the option Synchronize items immediately after change option.
- Enter your server settings
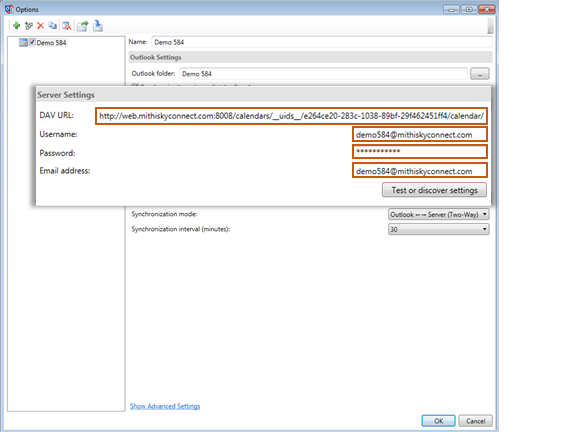
- DAV url: the URL you copied from Webmail earlier.
- Username: the email address where you created the calendar.
- Password: The password you use to log in to Webmail.
- Click Ok to save your settings.
- Restart Outlook.
- Click the Synchronize Now button to sync calendar events from the server.


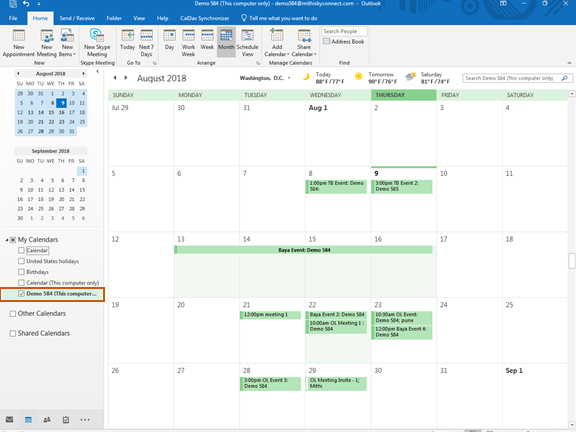
Step 4: Manage events in your calendar
- You can create, view and manage events in your calendar using Outlook 2016.