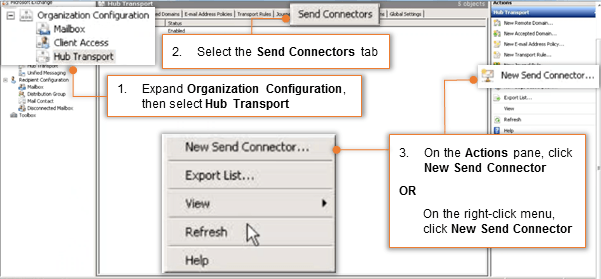
On the Exchange Management Console, expand Organization and then select Hub Transport.
Select the Send Connector tab.
On the Actions pane, click New Send Connector
OR
On the right-click menu, click New Send Connector
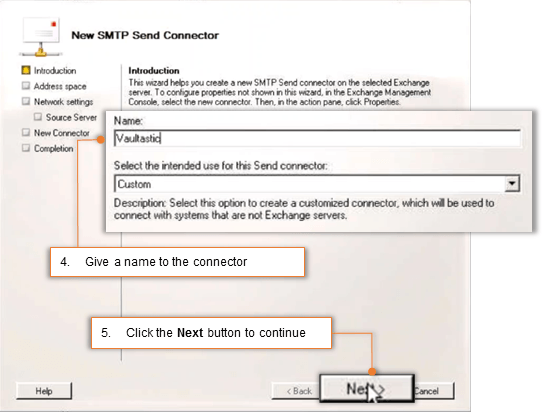
- On the New SMTP Send Connector window, give a name to the connector which will help you to identify it easily. For example: Vaultastic.
Click the Next button to continue.
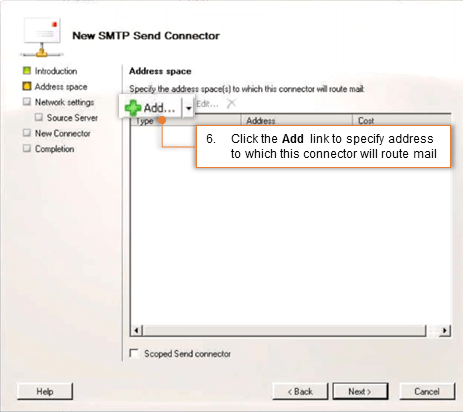
- Click the Add link to specify address to which this connector will route mail.
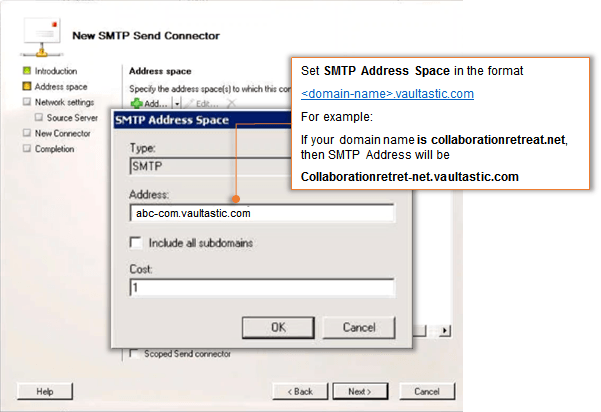
Set SMTP Address Space in the format {domain-name}.vaultastic.com
For example:
If your domain name is collaborationretreat.net, then SMTP Address will be collaborationretret-net.vaultastic.com
Leave include all subdomains unchecked.
Click the OK button to continue.
- Click the Next button to continue.


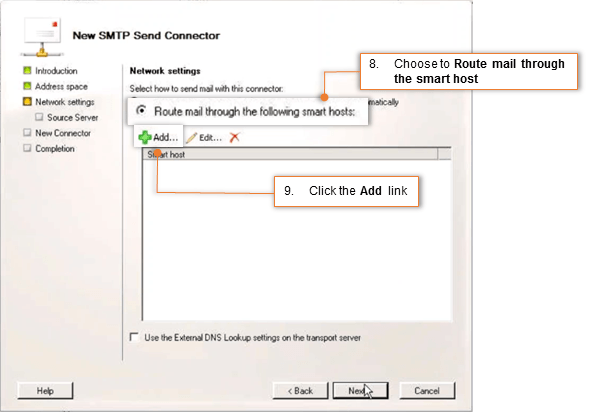
Select the Route mail through the following smart hosts option.
Click the Add link.
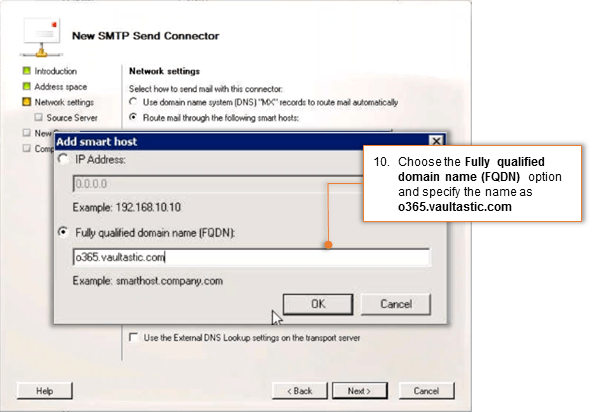
Select the Fully qualified domain name (FQDN) option and specify it as o365-v4.vaultastic.com and click OK
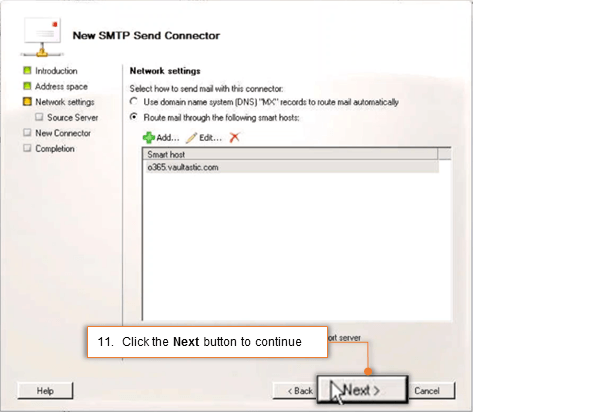
Click the Next button to continue.
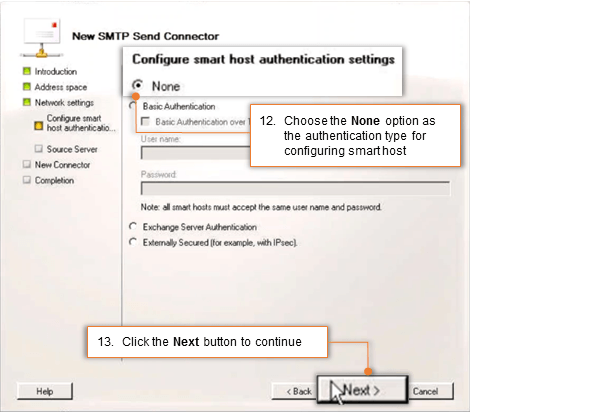
Leave smart host authentication settings as None.
Click Next
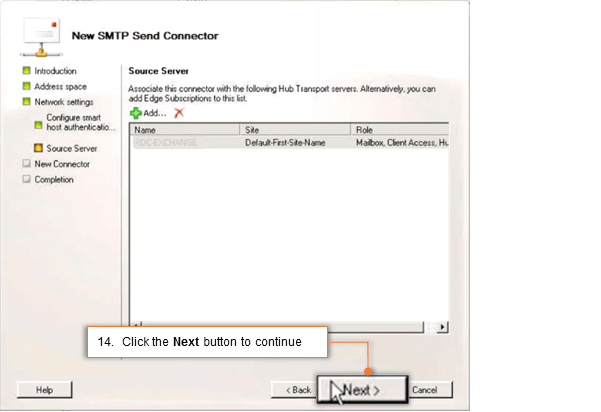
Choose the hub transport servers that apply (as necessary).
Click the Next button to continue.
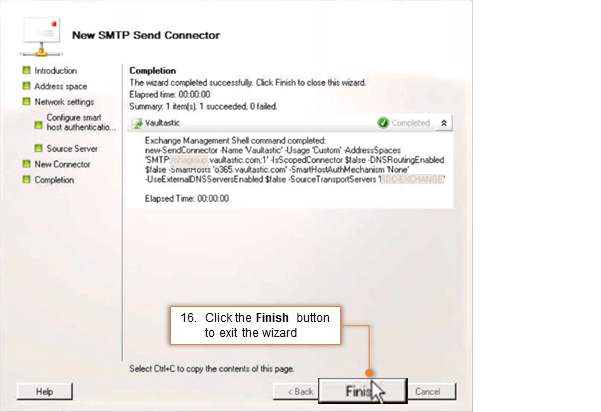
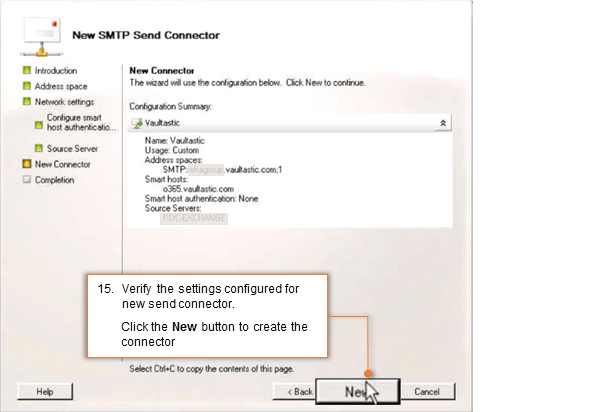
Verify the settings configured for new send connector and click the New button to create the connector.
Click the Finish button to exit the wizard.