Preparation
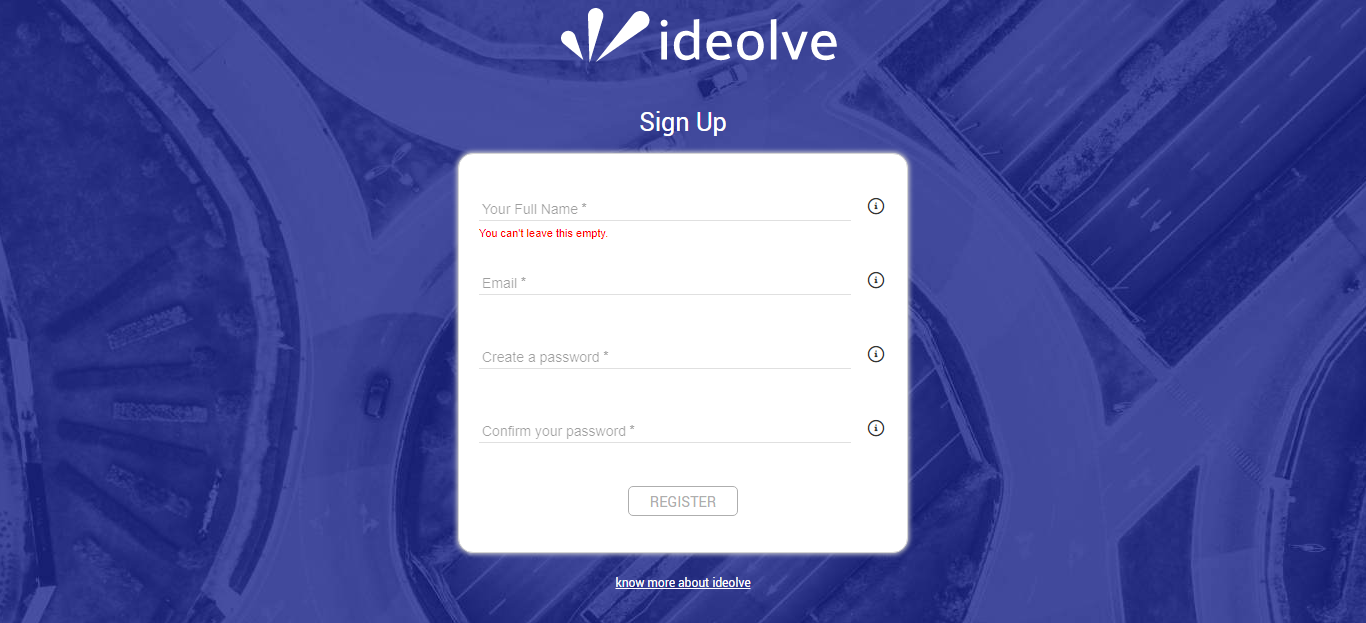
- First, you have to create a free Ideolve account by going through the following link: https://ideolve.mithi.com/.
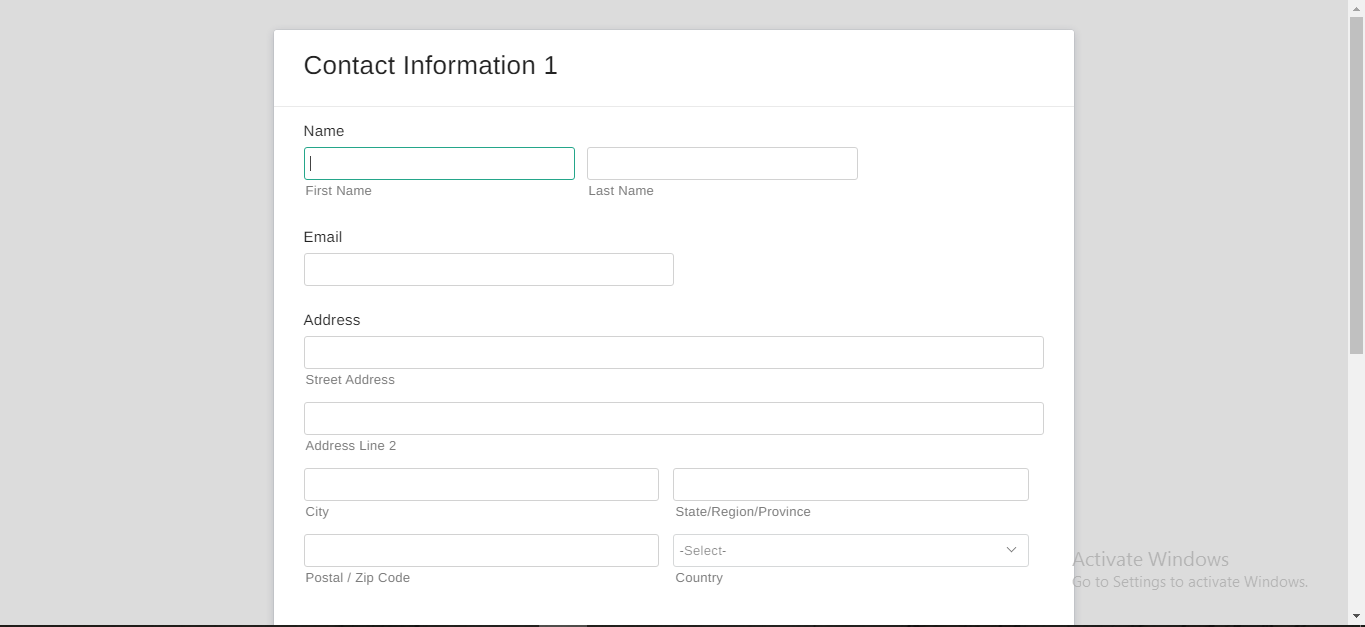
- Then, create a Zoho account. Once created, make a Zoho Form of your choice.
Get Started with the Zapier connector
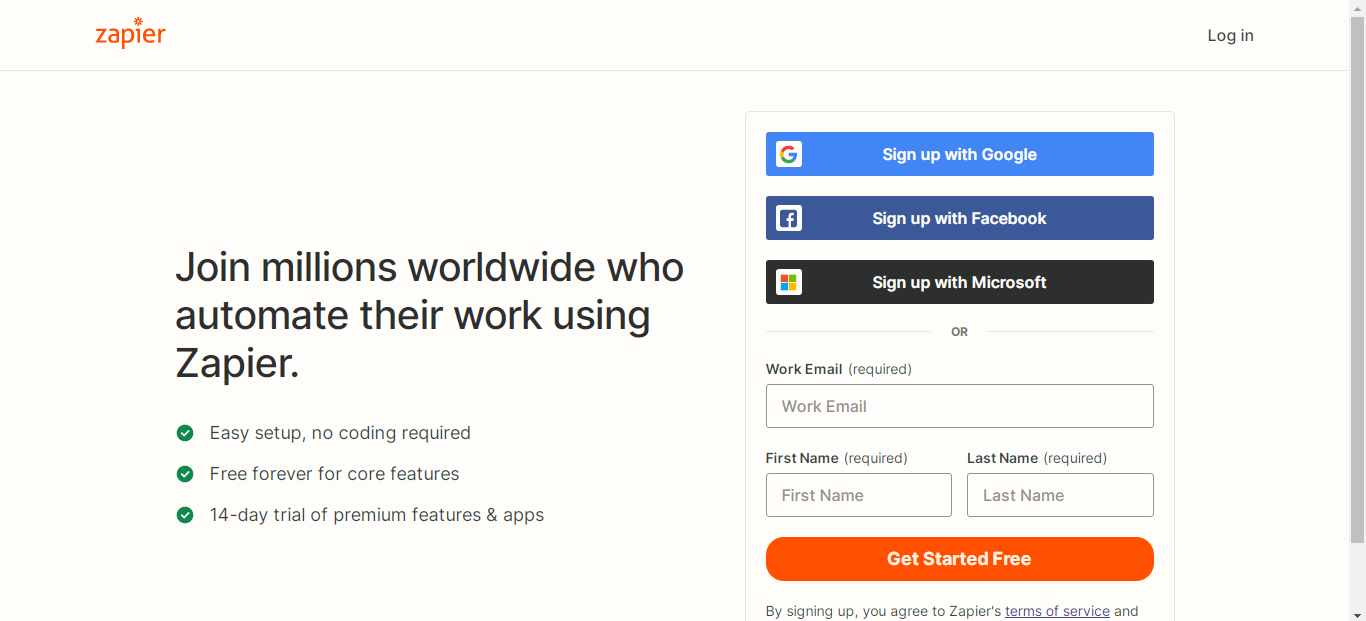
- Sign up on Zapier by following this like: https://zapier.com/sign-up.
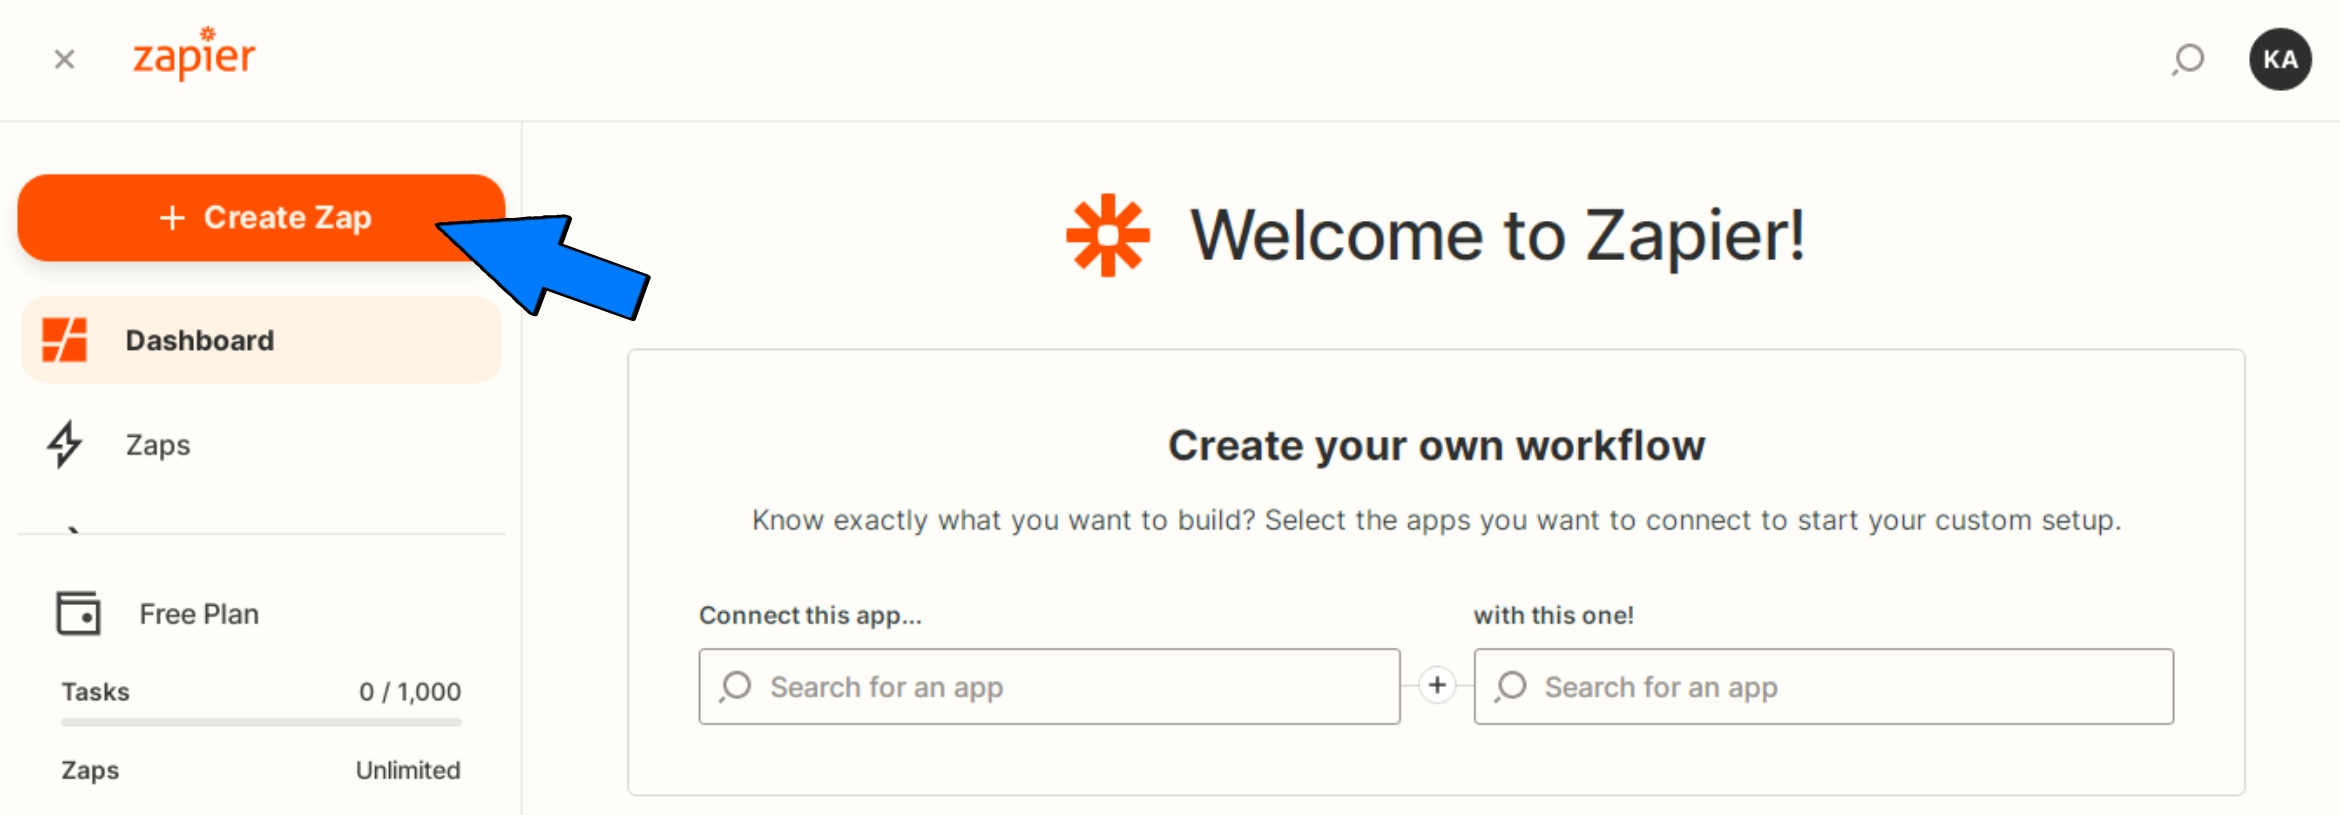
- Click the "+Create Zap" button on the left side of the Zapier site after logging in.
- For the App under "Trigger," select Zoho Forms
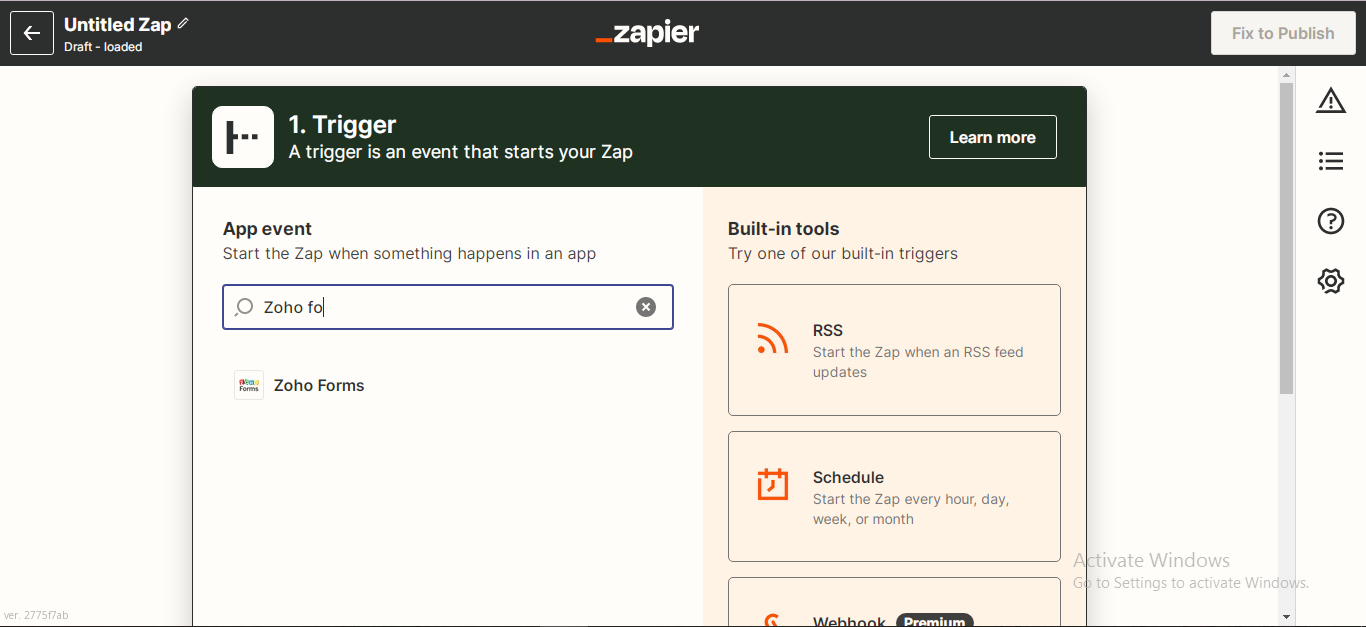
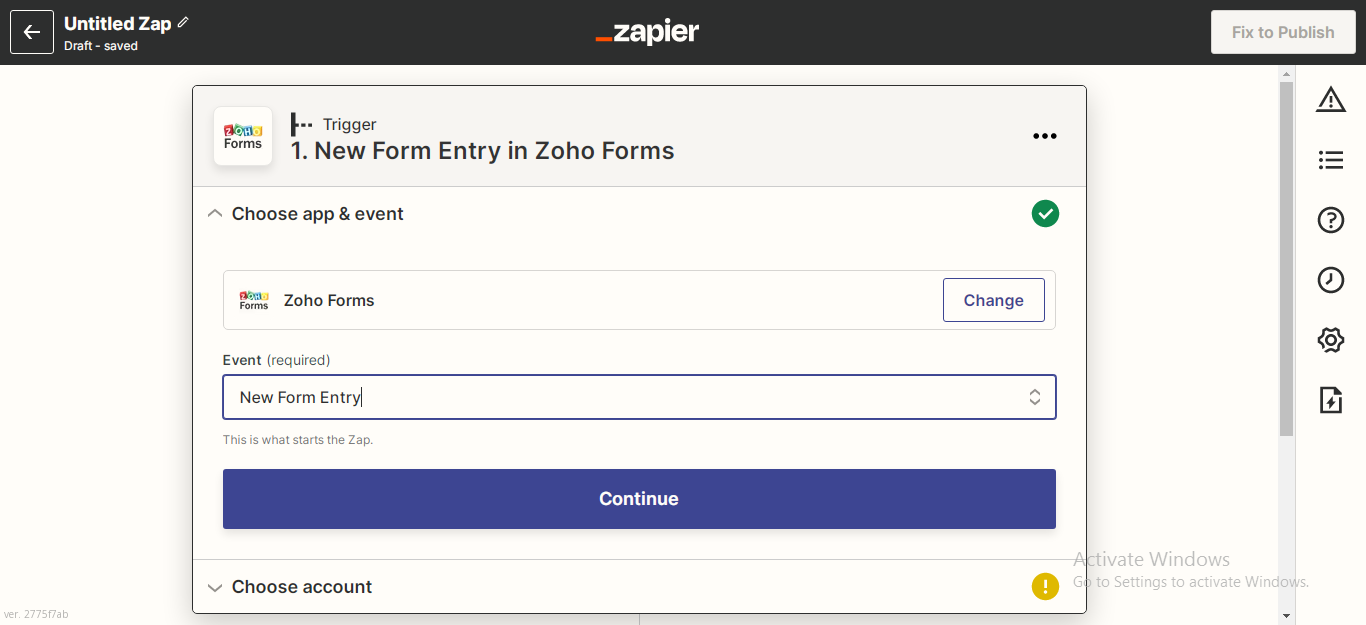
- Under the Event, choose "New form entry" and click on Continue.
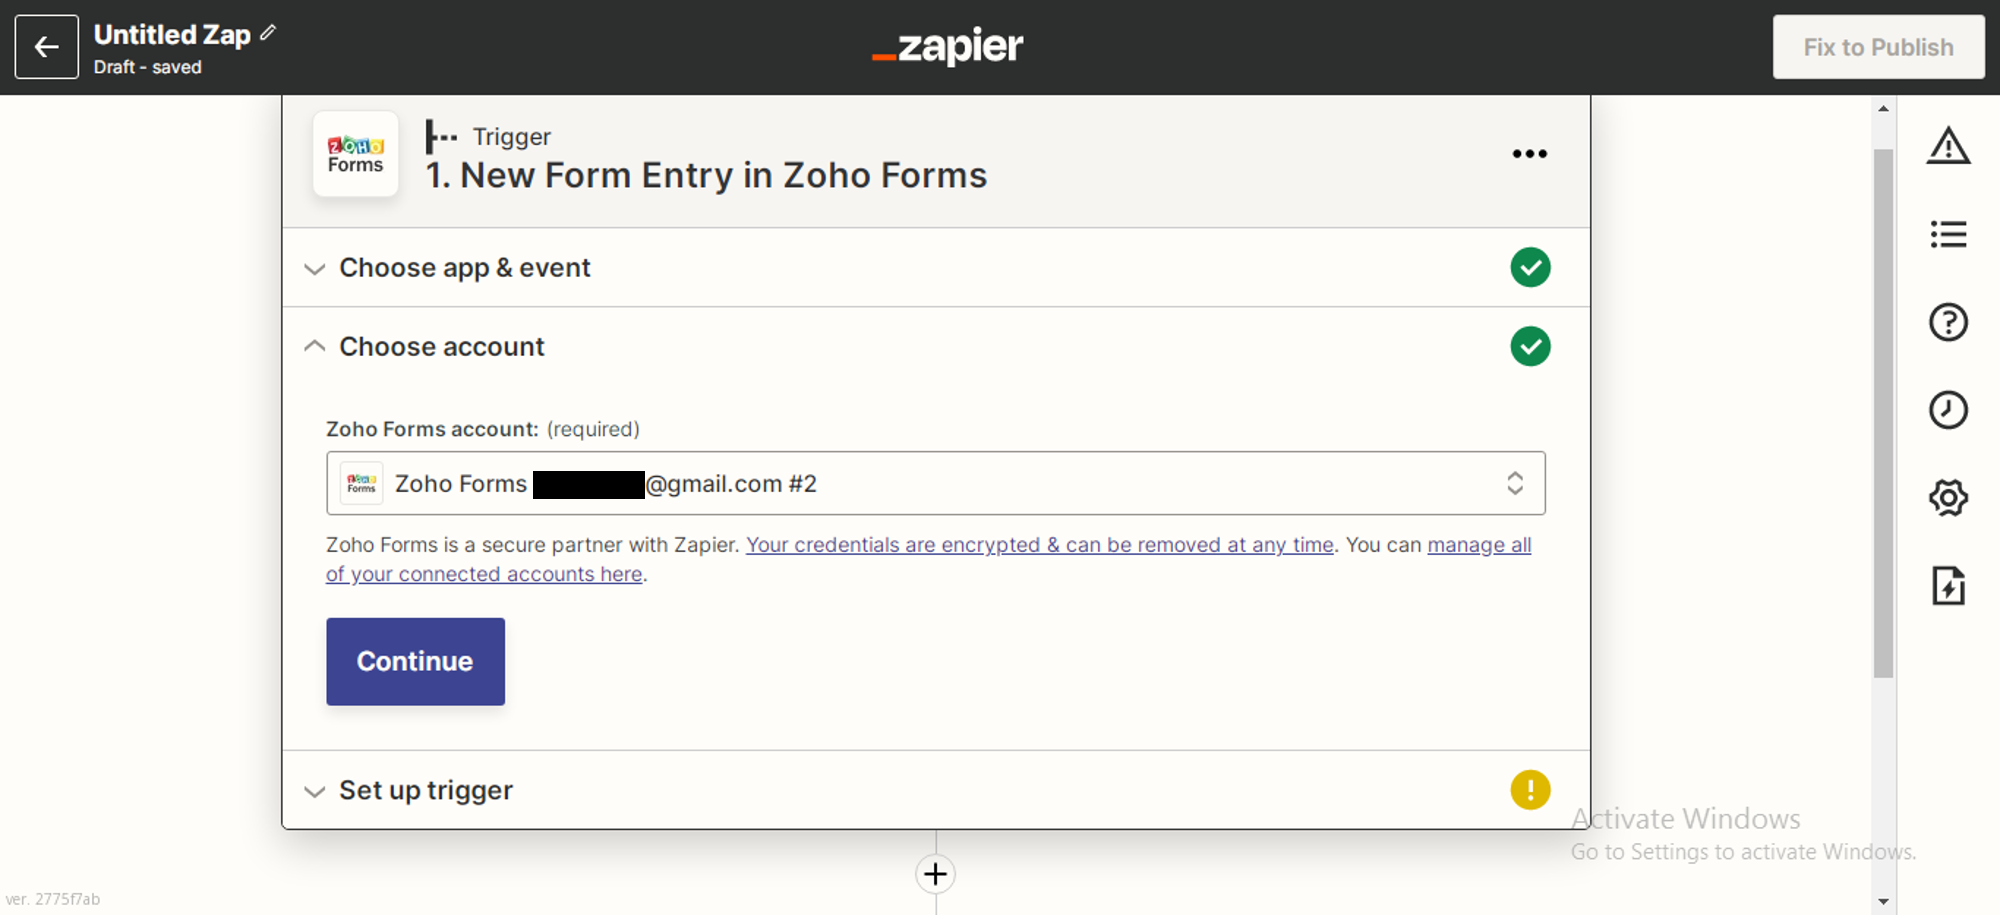
- Next, link the Zoho Account in which you've created the Zoho Form and click on Continue
- Under the "Set up Trigger Section", you need to now choose the Zoho form that you have created.
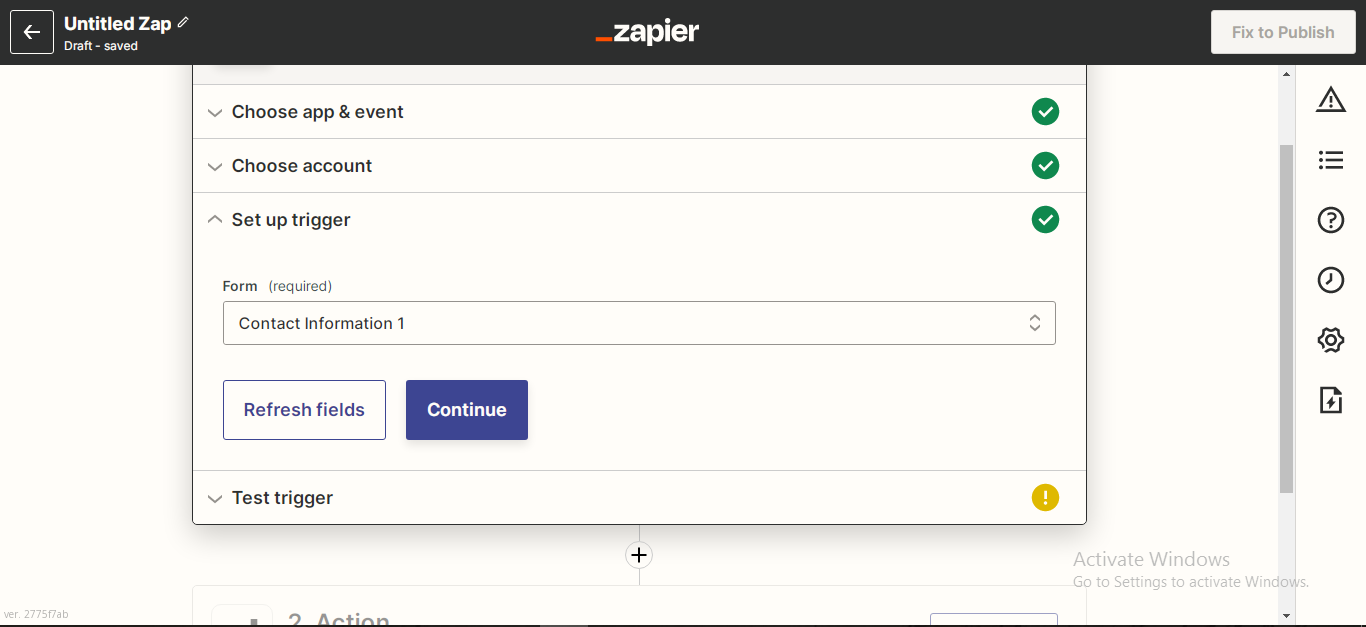
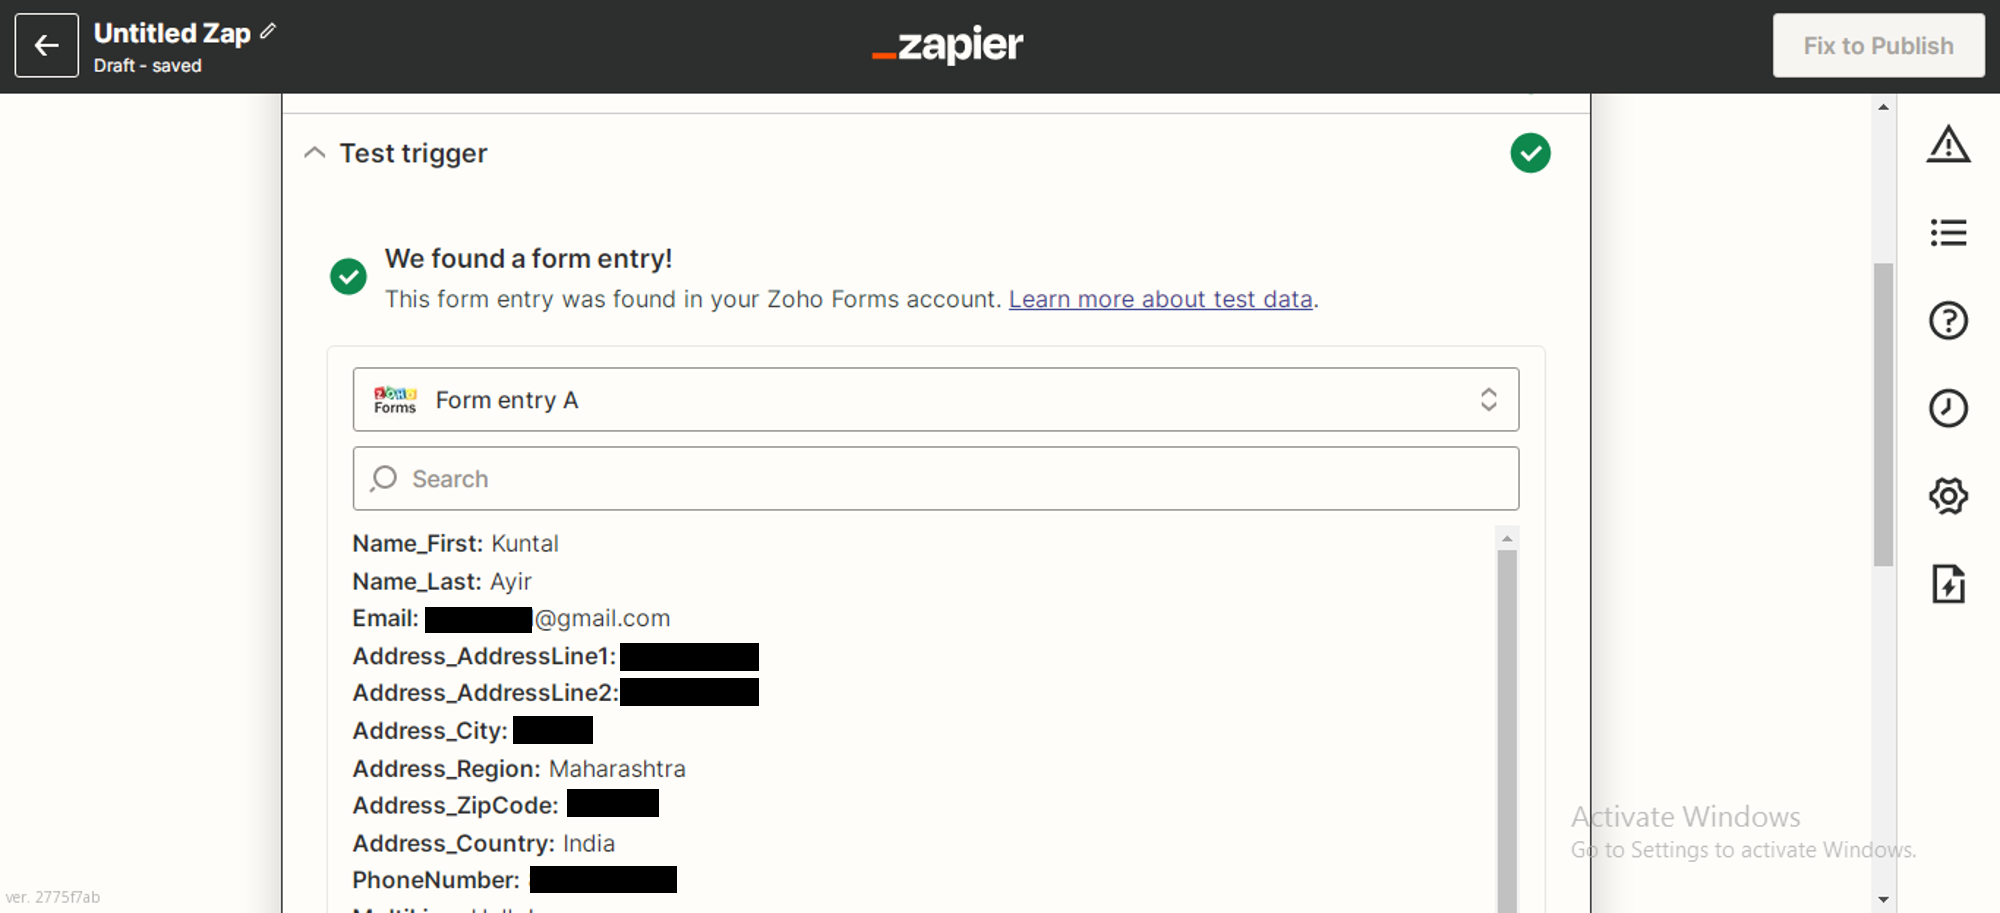
- Remember to have at least one response in your Zoho form since now we have to test the trigger to see if it captures all the information. Click on Continue.
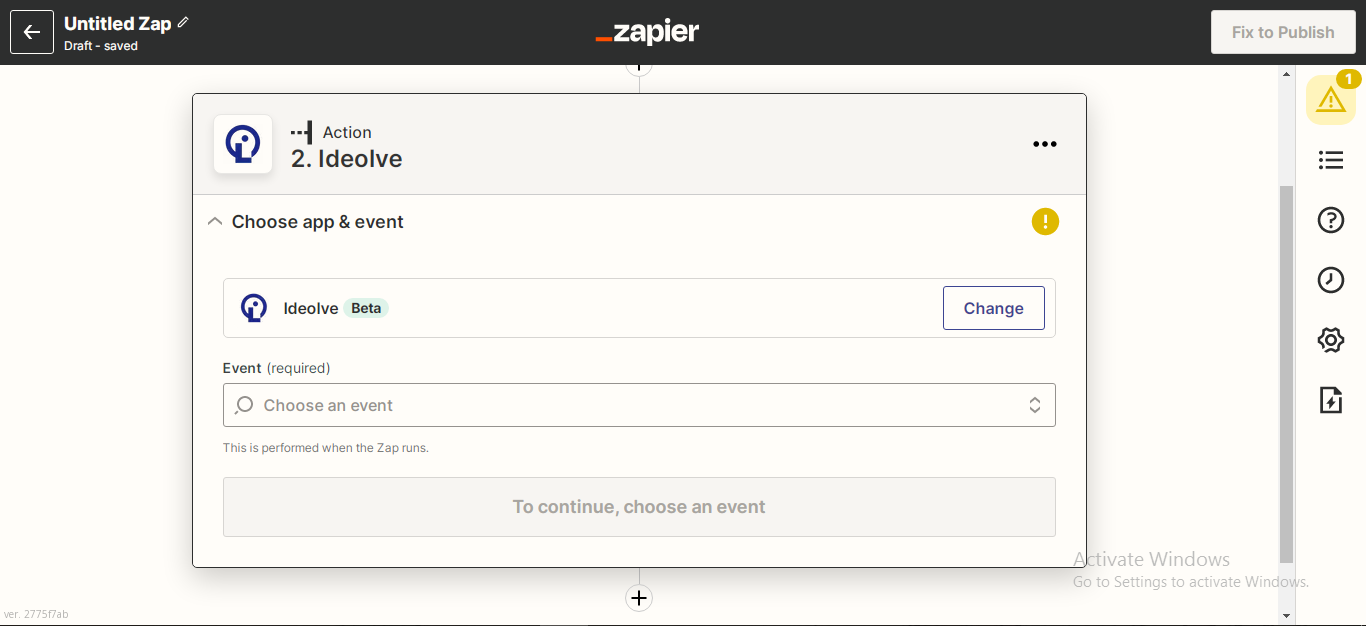
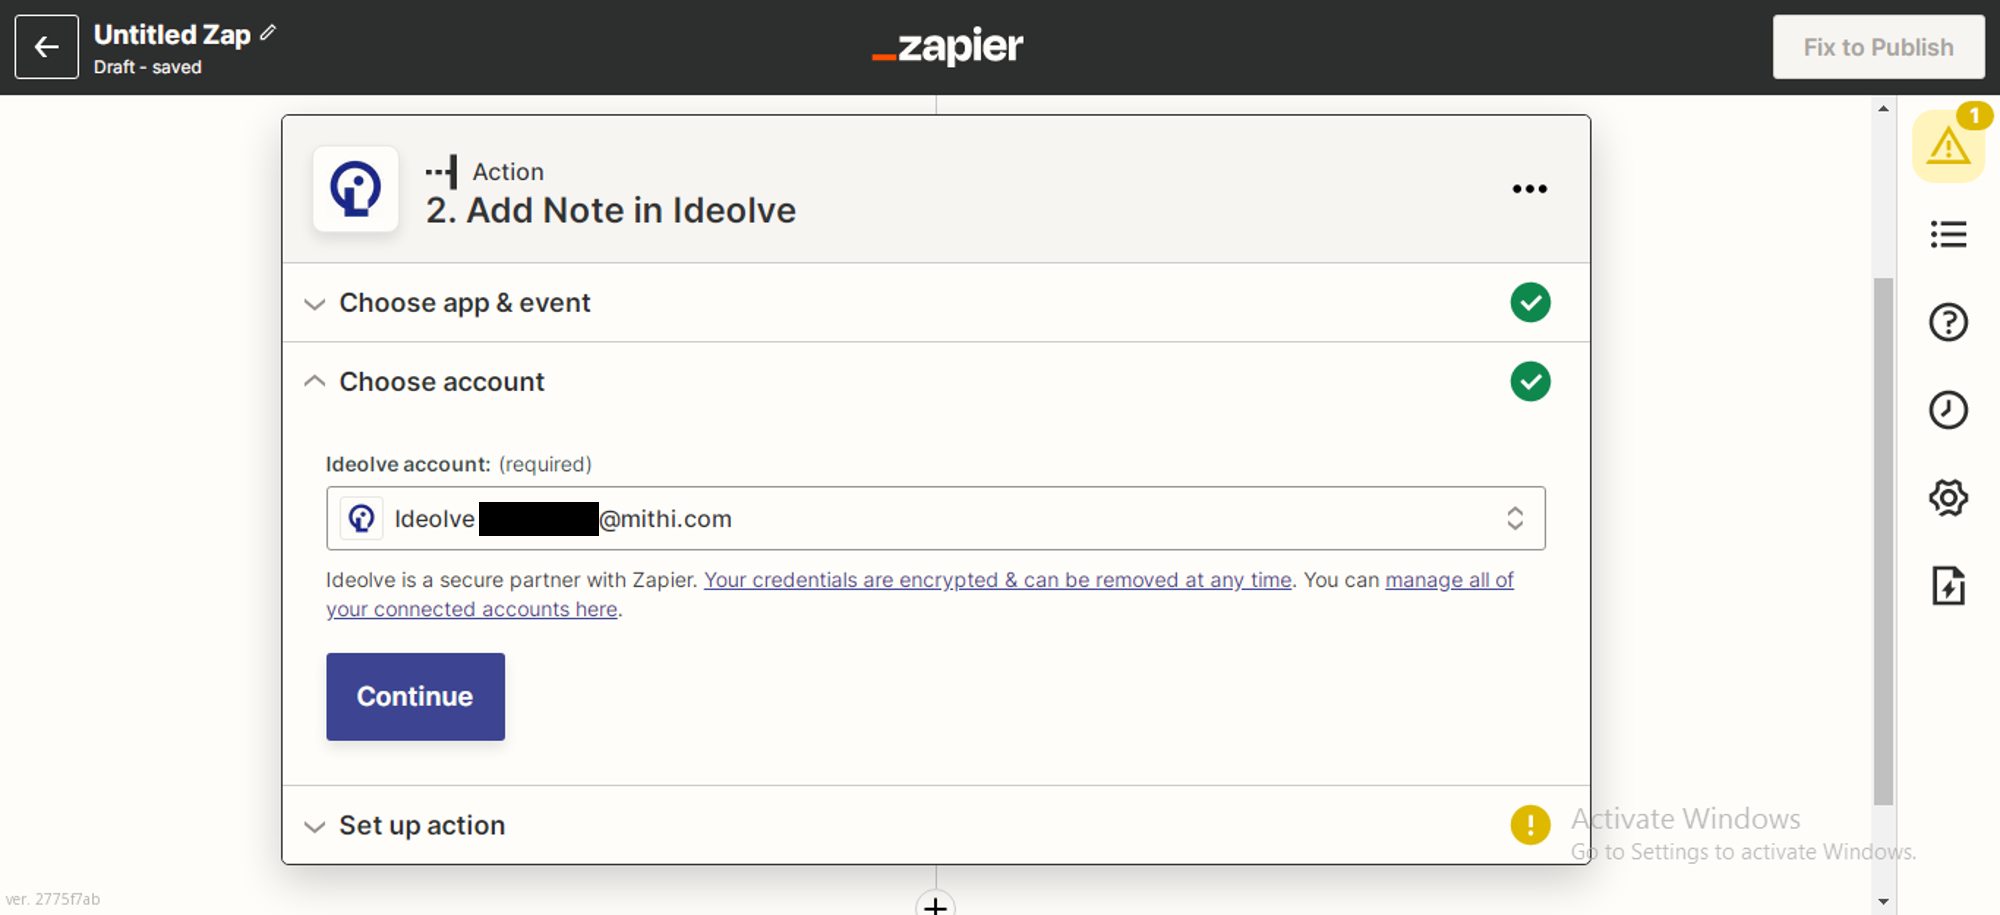
- After testing the trigger, now we have to set up the Action. Under the Action tab, Choose the Ideolve app.
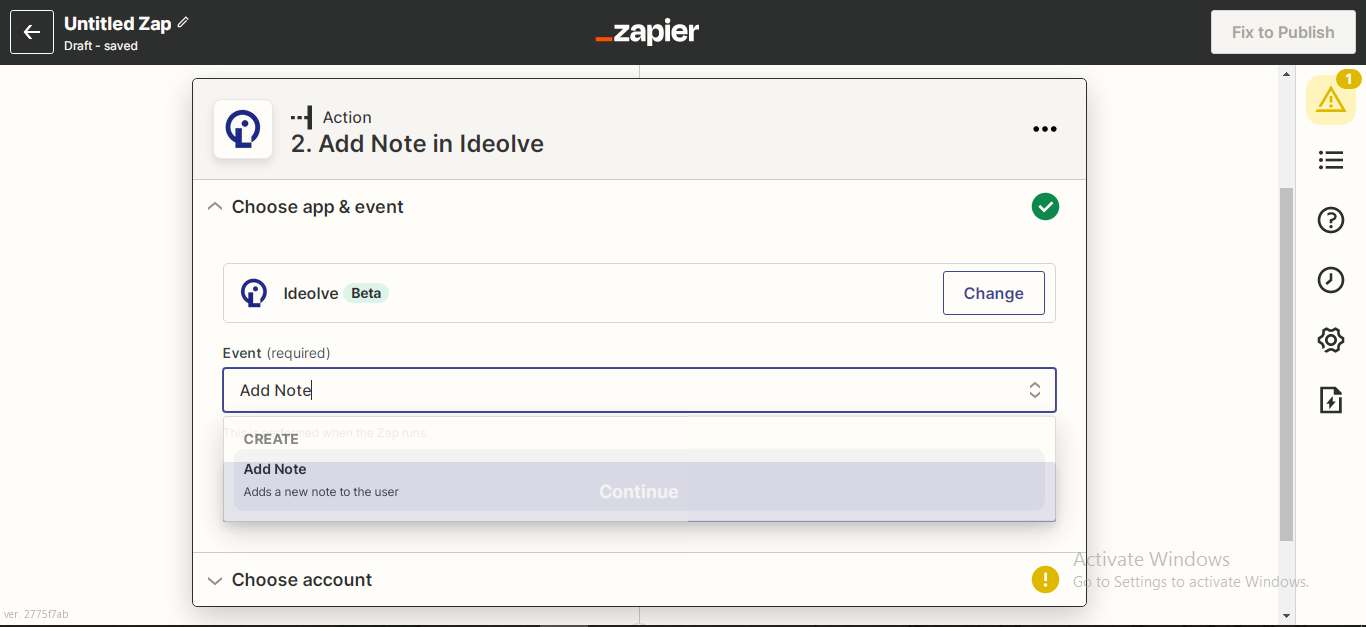
- The new event to add every time an entry is made is to add a new note. Choose "Add Note" under Event and continue.
- Choose your Ideolve account to save the note and Continue.
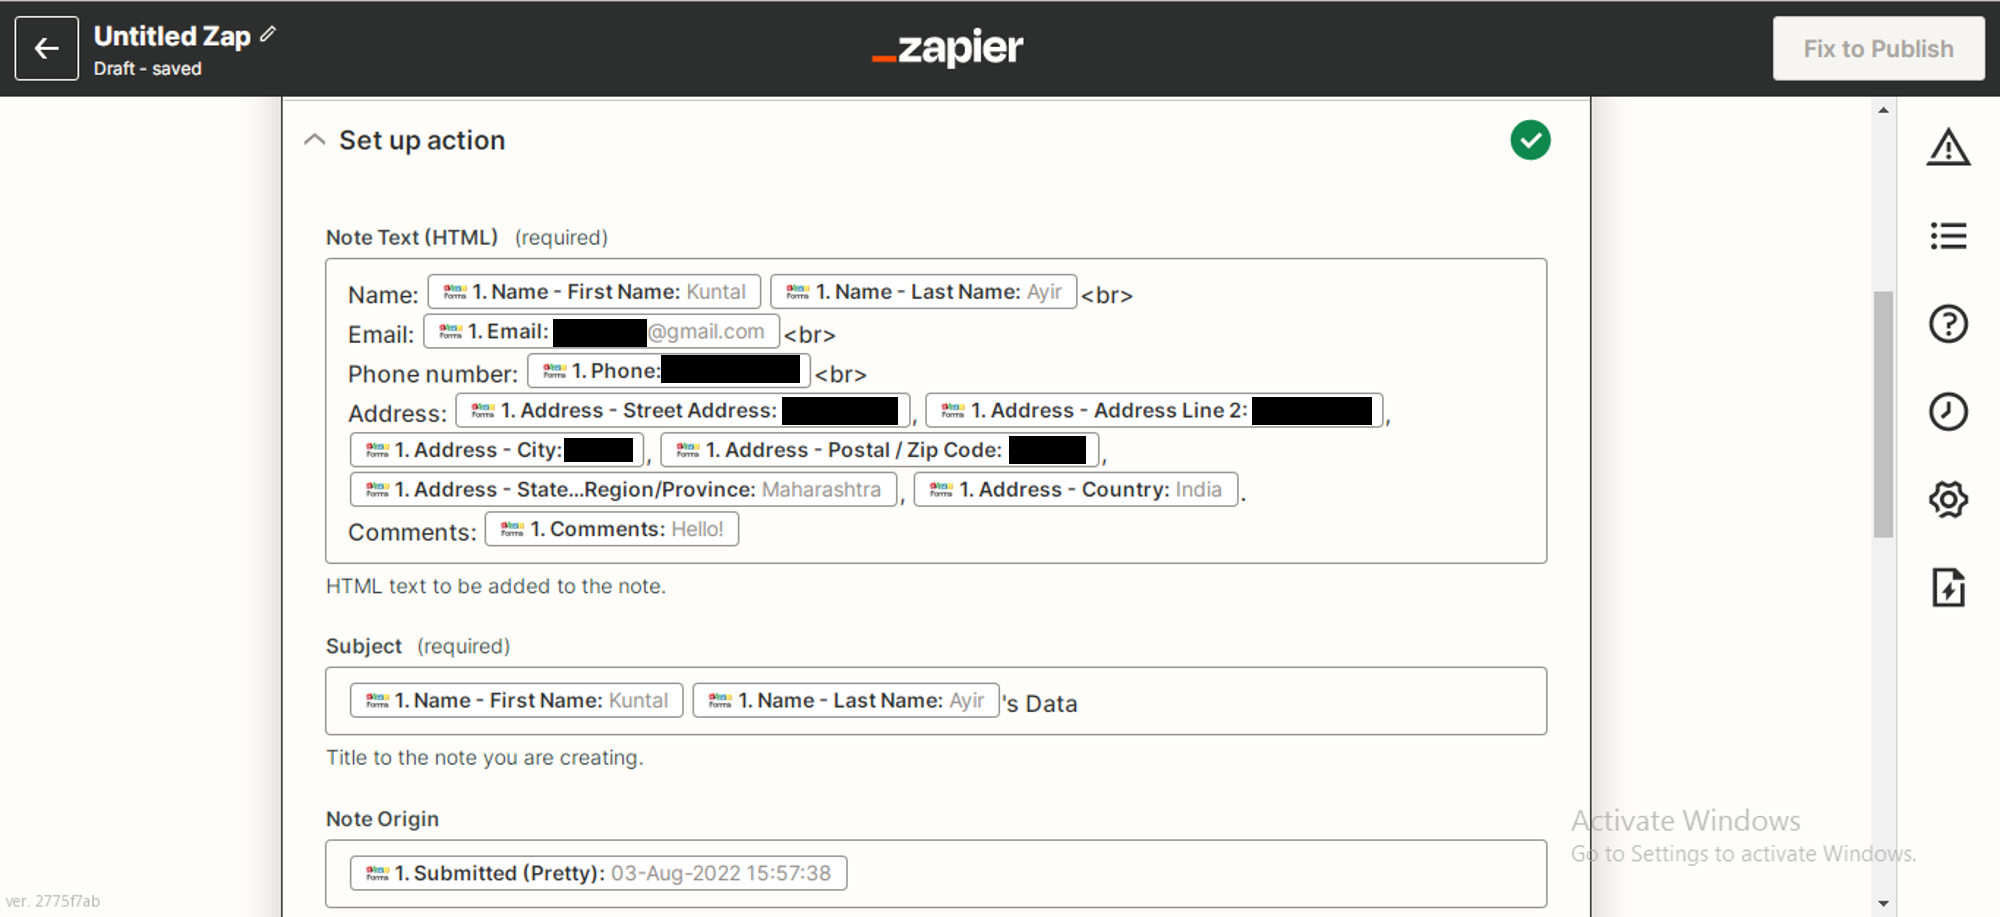
- Setup the action i.e. How you want your note to look. You can include the data you have captured from the Google form and put it in the Note text. Remember that the Note text is in HTML format so you need to use some HTML tags to format the text.
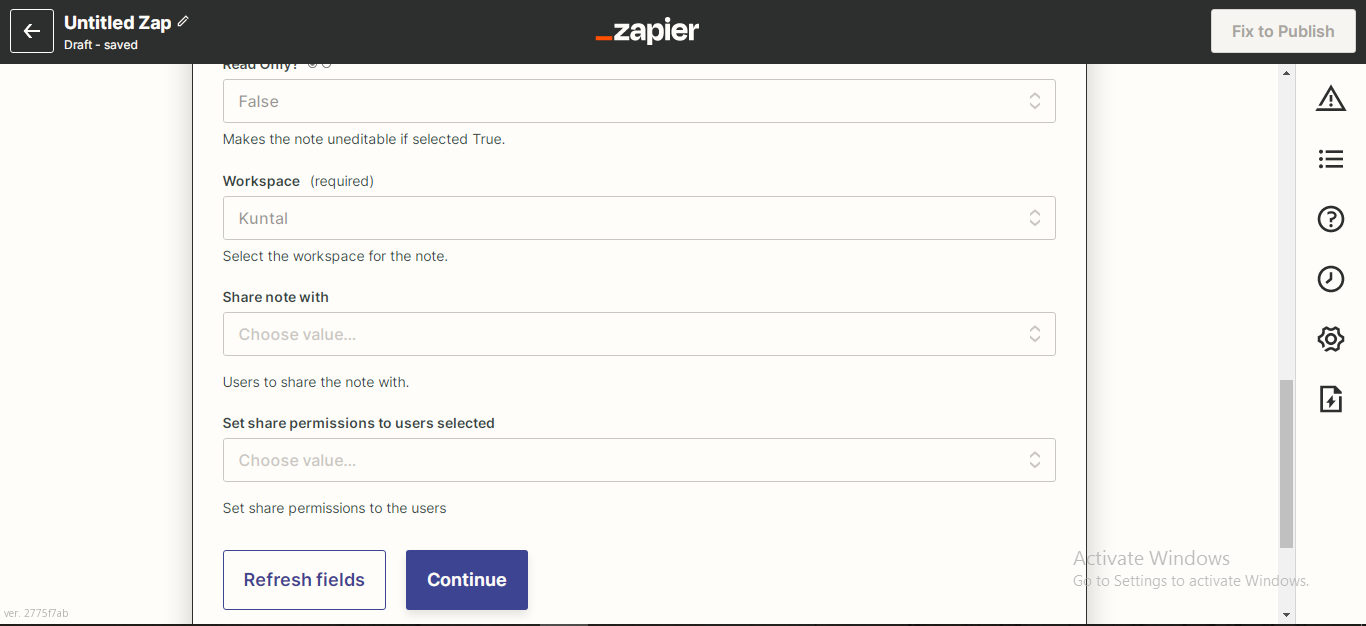
- Once you're done formatting the note, decide what workspace you want to put the note in. Set its permission and the people you want to share the note with and press Continue.
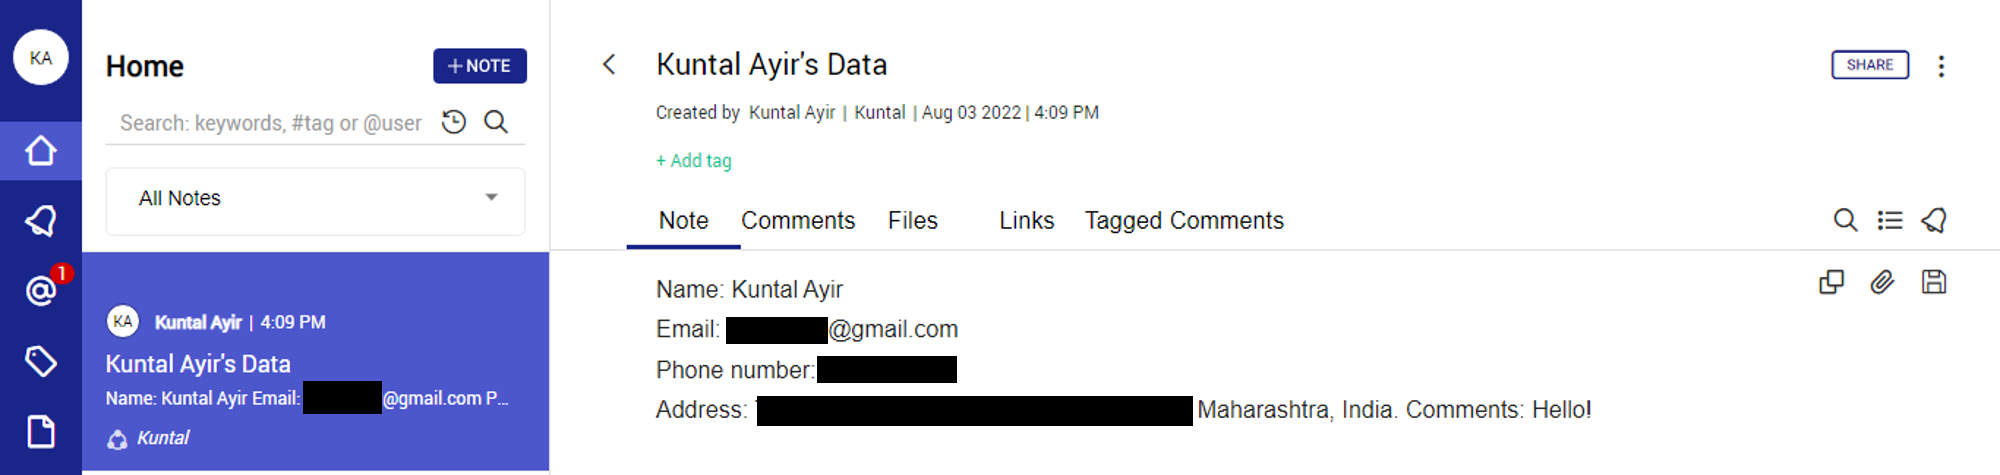
- Now, test the note and see how it appears in Ideolve. It usually takes a few seconds for the note to appear on Ideolve.
- Open Ideolve and you will receive a new note with the information entered in the Zoho Form. Publish the Zap and every time the form is filled, a new note with the information will be created.