Preparation
Step 1: Sign up on Ideolve
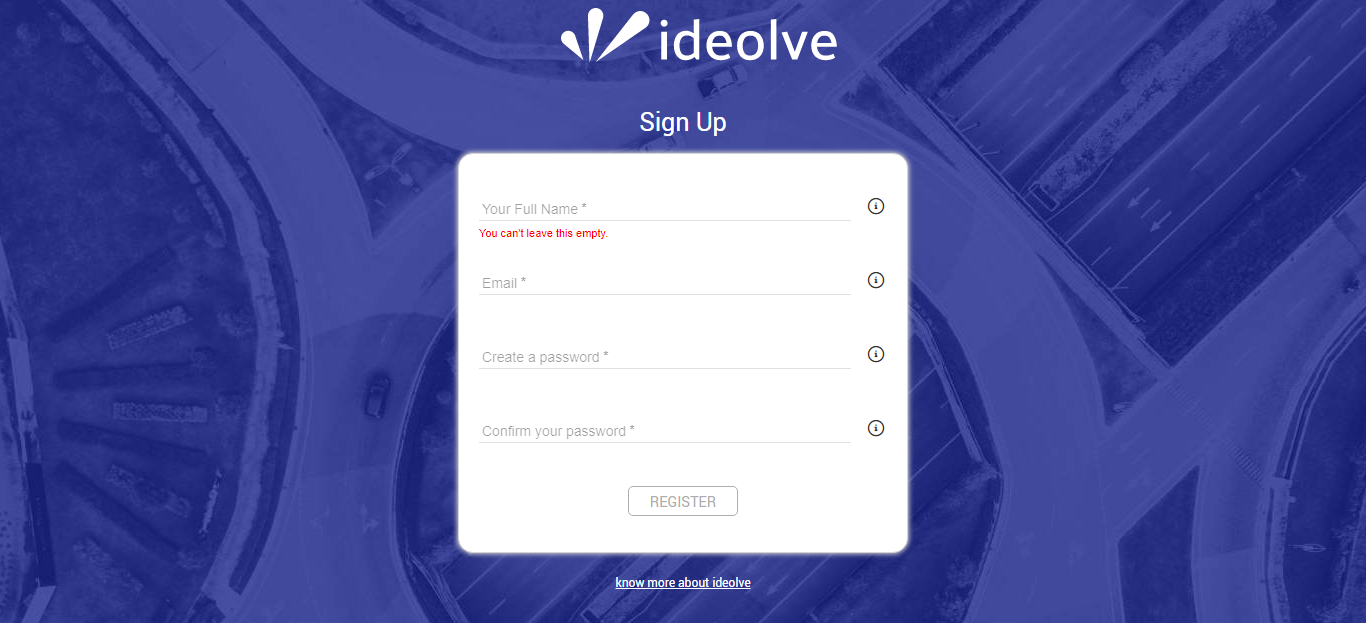
Sign up for a free Ideolve account
Create a workspace where the notes for each form filled will be created.
Invite teammates who will need access to the notes.
Step 2: Create the form to collect the Input
You can use any of the forms listed here.
For example, if you select Google Forms, you can refer to the guide here.
On creating the form, go to "Responses" table and click on the green "Create Spreadsheet" icon and create a new spreadsheet. We will need to link this spreadsheet as a Zap trigger later on.
Get Started with the integration
Step 1: Sign up on Zapier
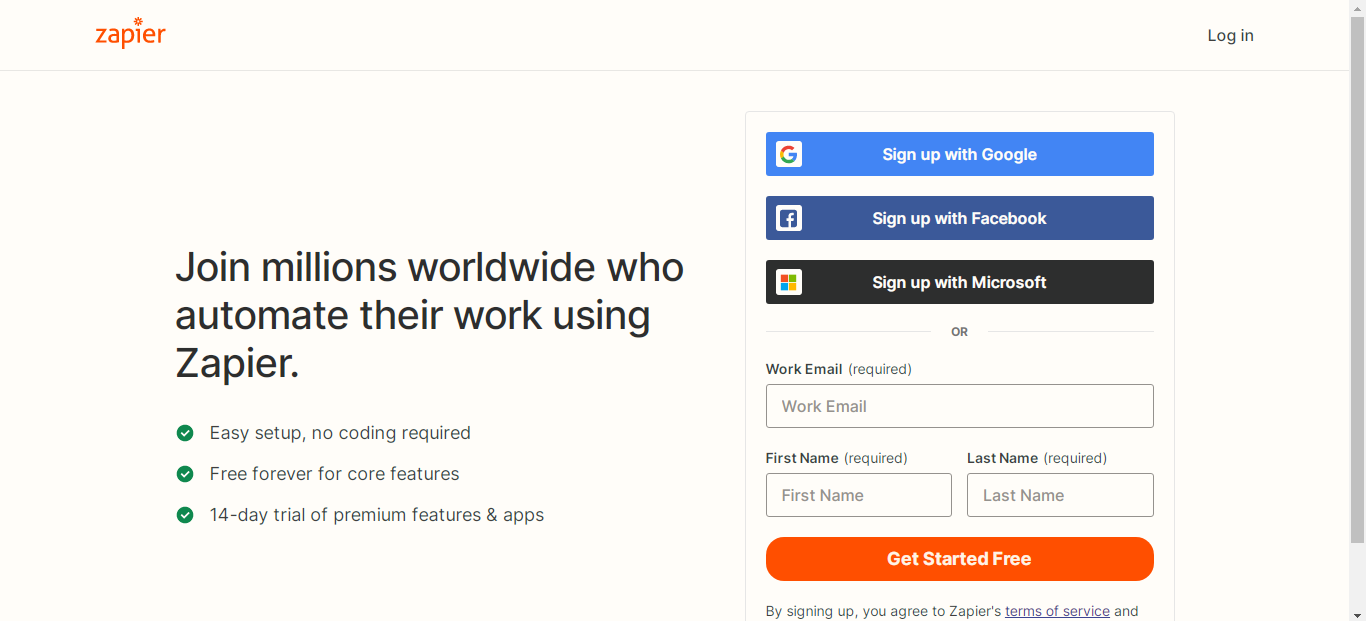
- Sign up on Zapier by following the link here.
Step 2: Create the Zap to upload form data into Ideolve Notes
- Click the "+Create Zap" button on the left side of the Zapier site after logging in.

Step 3: Define the Zap Trigger
NOTE: The example here is specific to Google Forms. For other form triggers refer to the relevant documentation
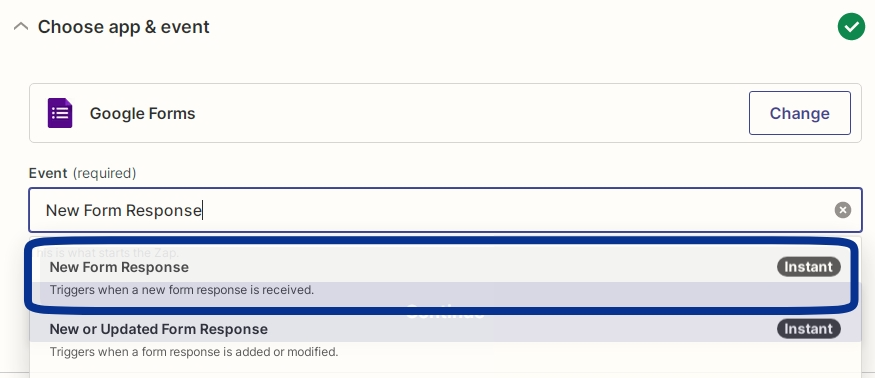
- You must now choose a Trigger. Select "Google Forms" from the list of apps below.
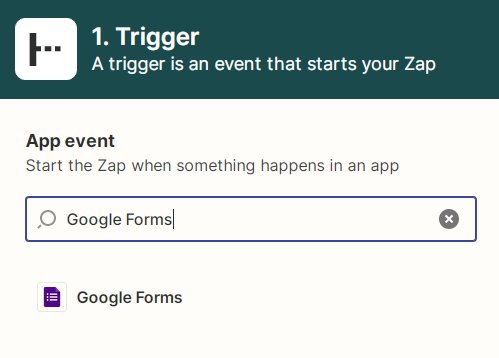
- Set the Event to be a "New Form Response" for the response. This implies that an event is triggered each time a new response is added to your form.
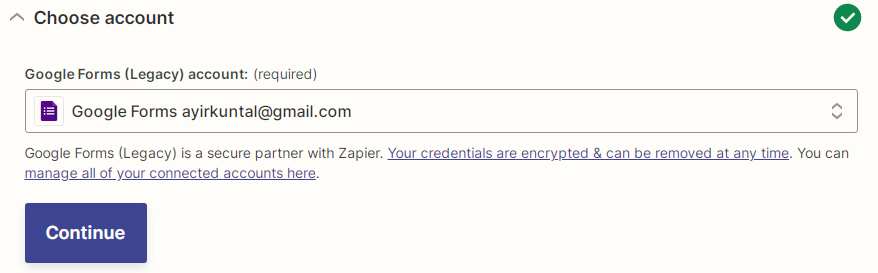
- Next, choose the account on which you have created the Google Form.
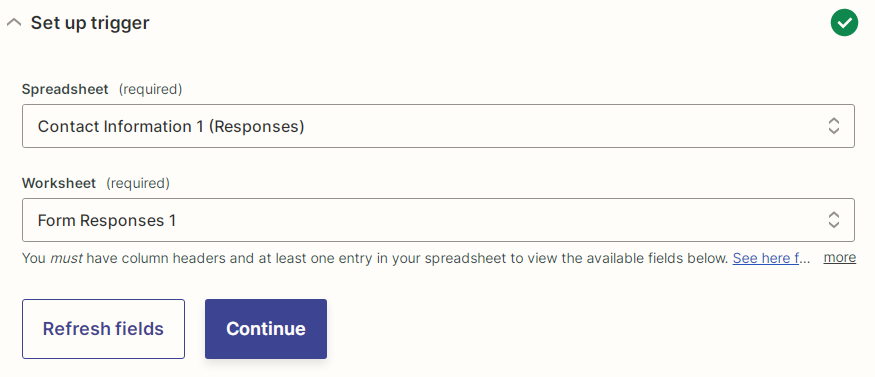
- Choose the Spreadsheet that you've created under the Spreadsheet tab. Once that is done, the Worksheet tab will auto-detect and create a "Form Responses" tab for the Spreadsheet, select it.
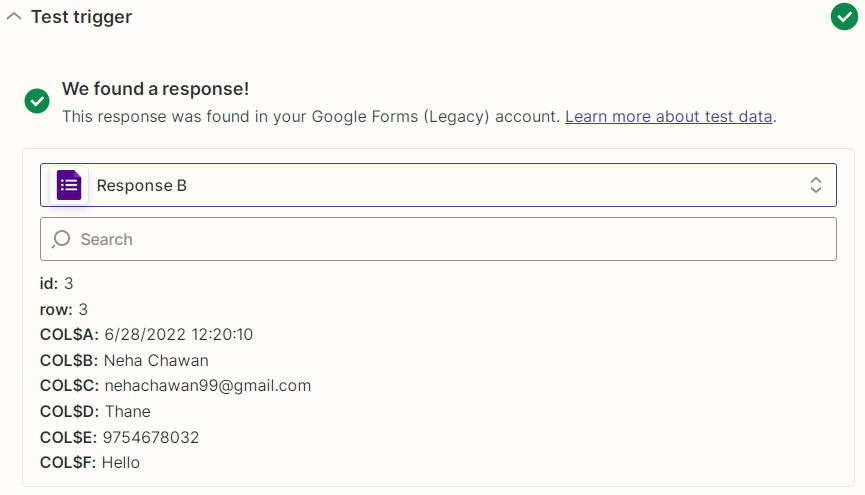
- Fill in a sample value into your Google Form to check if the response gets properly caught by Zapier.
Step 6: Define the Zap Action
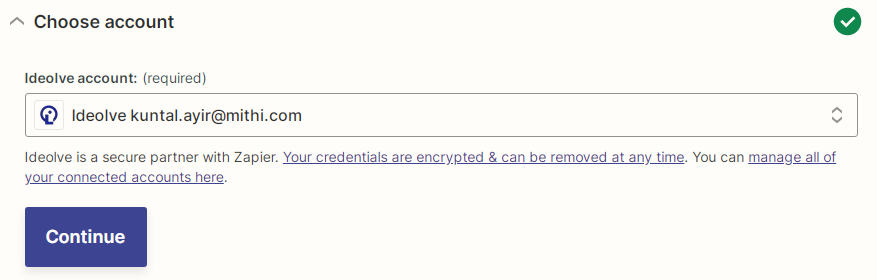
Now it's time to choose the App and Event. Choose "Ideolve" from the list, then click "Add Note" for Ideolve. Next, choose the Ideolve account made before and link it to the Zap.

- Now you have to format the way your note content will look, and you have to do so with the help of HTML. For example, if you want to display the Name entered in the Google form, enter the text "Name:" and the column imported from the spreadsheet.
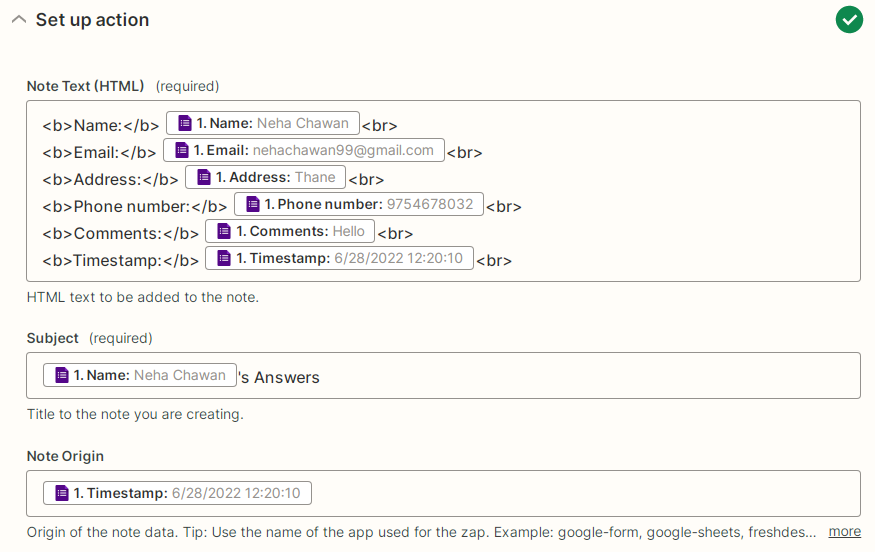
- As for the title/subject of the note, you can also import one of the entered data like the name, to easily access the candidate's note using the search feature on Ideolve.
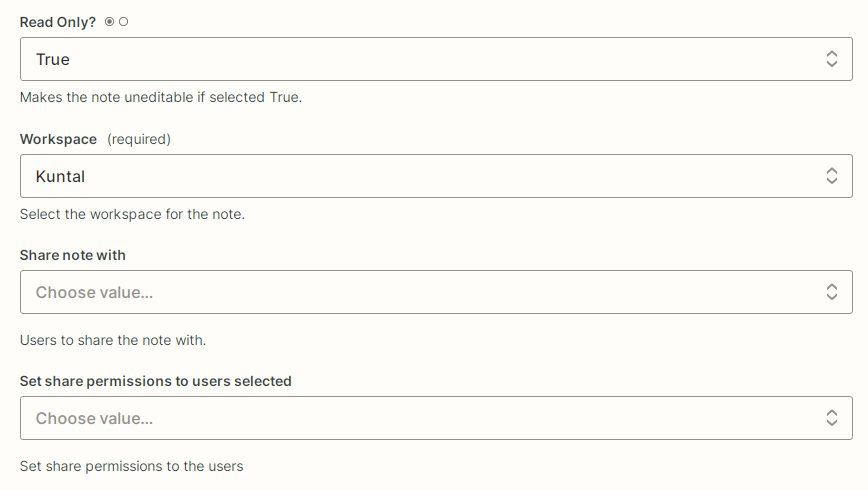
- You can also set the newly created note in Ideolve to be read-only or editable. In the end, you have to choose the workspace to save the notes and the final sharing permissions.
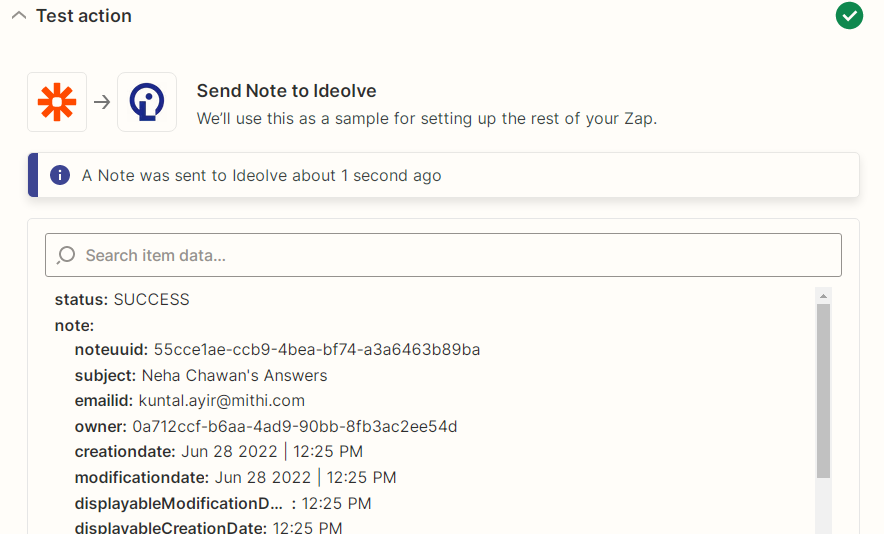
- Test the Zap working and the note showing up on the Ideolve. You can always go back into the previous choices and adjust them if you're not satisfied.
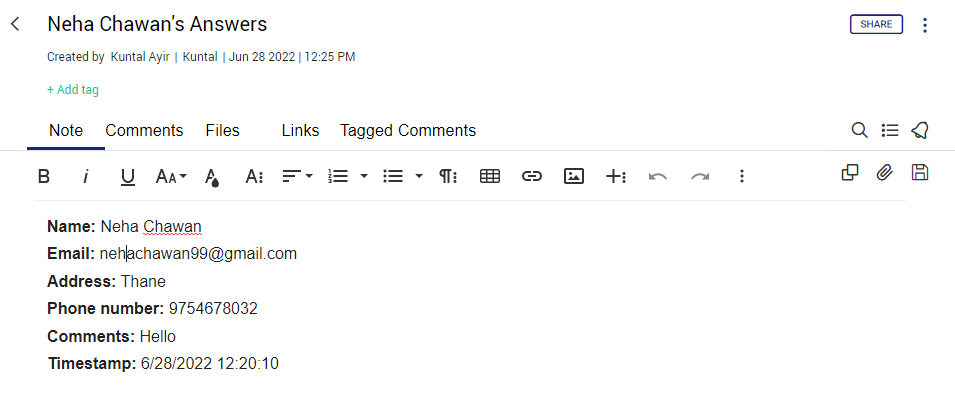
- The Ideolve note will look something like this: