Overview
Access to user's mailboxes & drives, teams chat or Sharepoint documents on M365 are granted via the Microsoft Graph API.
This is required for reading data as well as to upload data to M365.
This document gives the steps to get secure access to the API and register the credentials with Vaultastic.
Step 1: Application registration on Azure
Login to Microsoft 365 in a separate tab.
Navigate to Cloud computing services.
Http link: https://azure.microsoft.com/en-in/
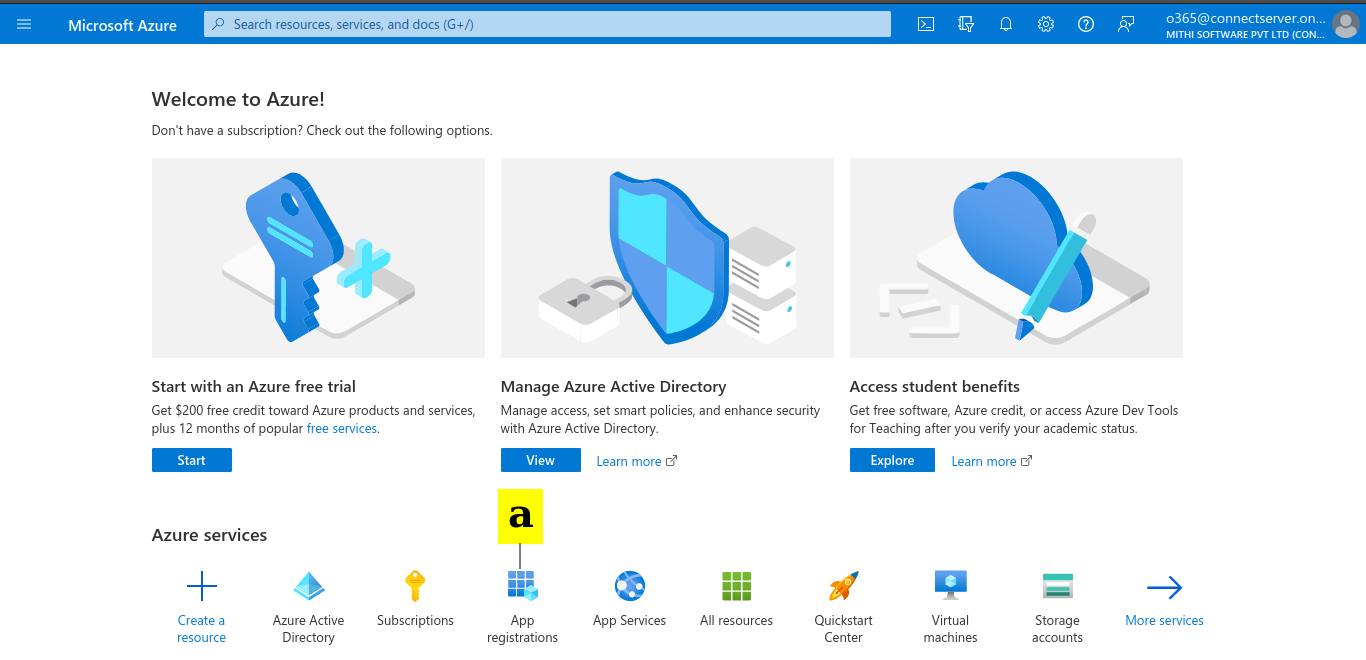
(a) Select App registrations Azure service.

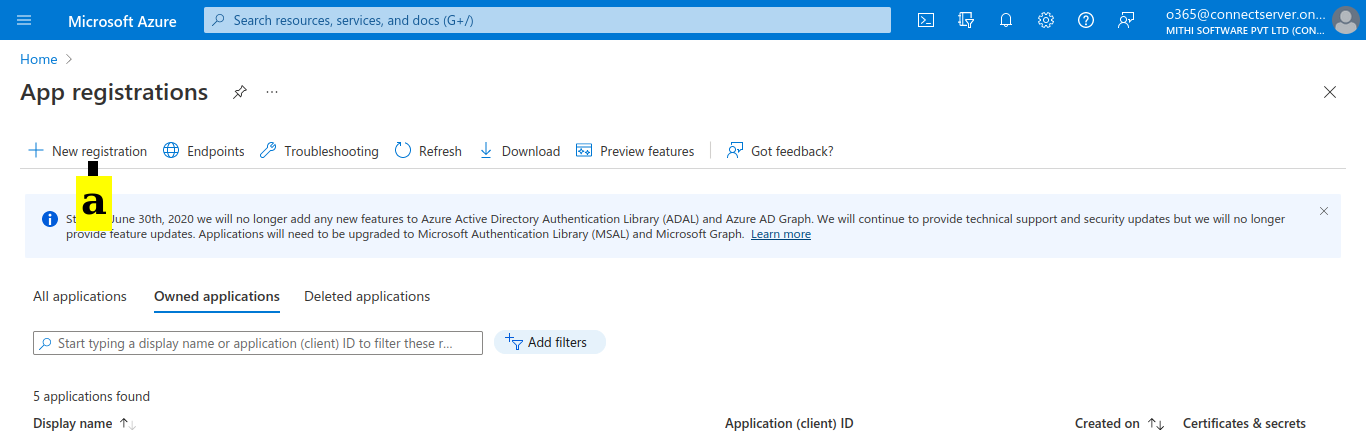
(a) Click on New registration.
(a) Provide a name for the new registration. 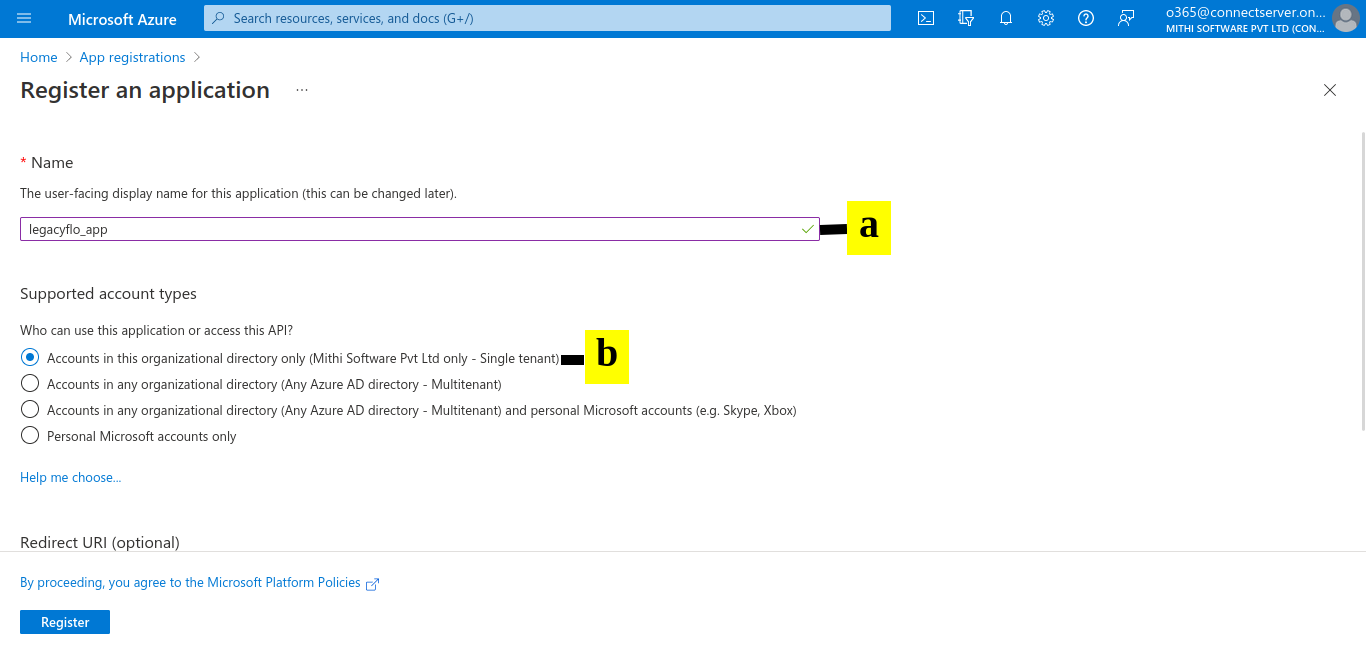
(b) Select the "Accounts in this organizational directory only" in Supported account types.
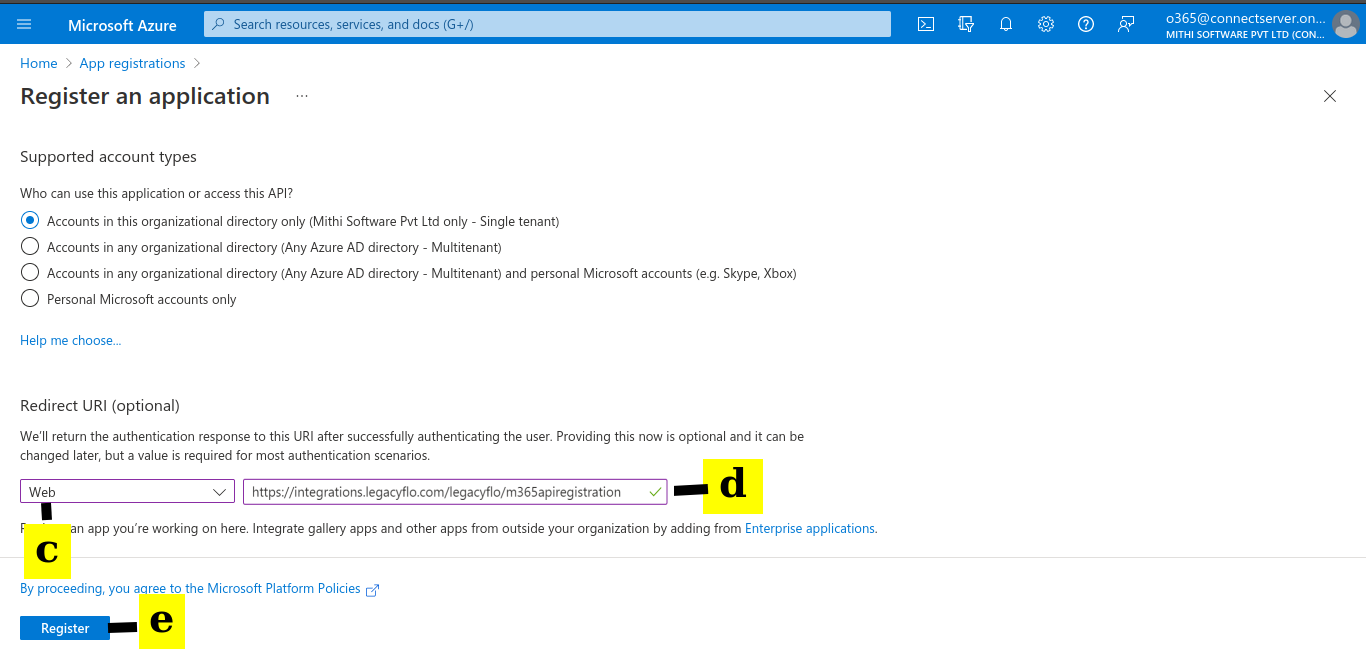
Scroll down till you see the Redirect URI section
(c) Select Web as the platform
(d) Enter "https://integrations.legacyflo.com/legacyflo/m365apiregistration" as the Redirect URI
(e) Click on Register.
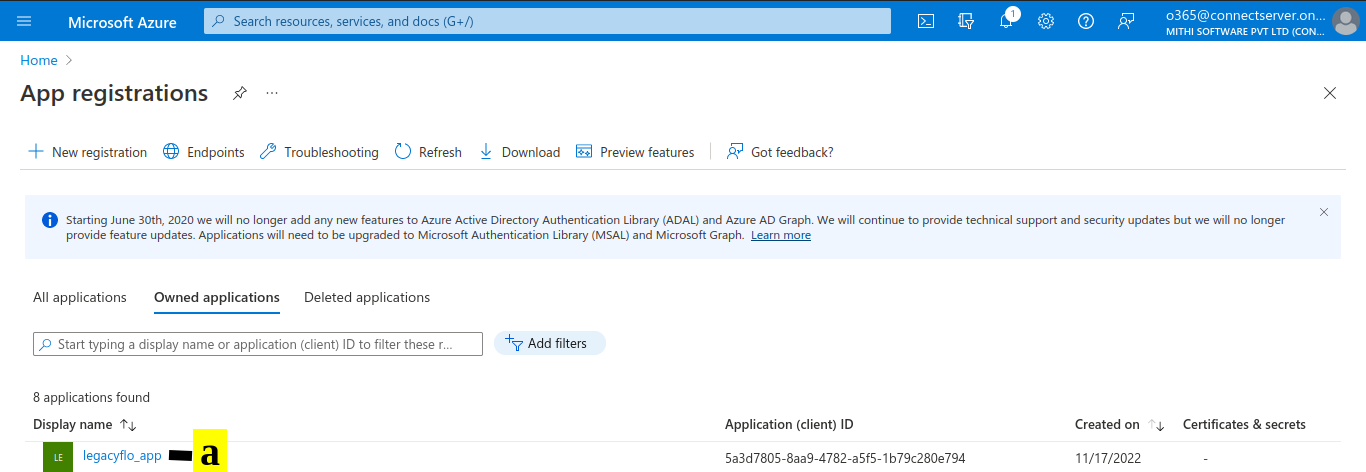
(a) Re-select the App registrations Azure service.
(a) You will see your app on the list. Click on the Display name
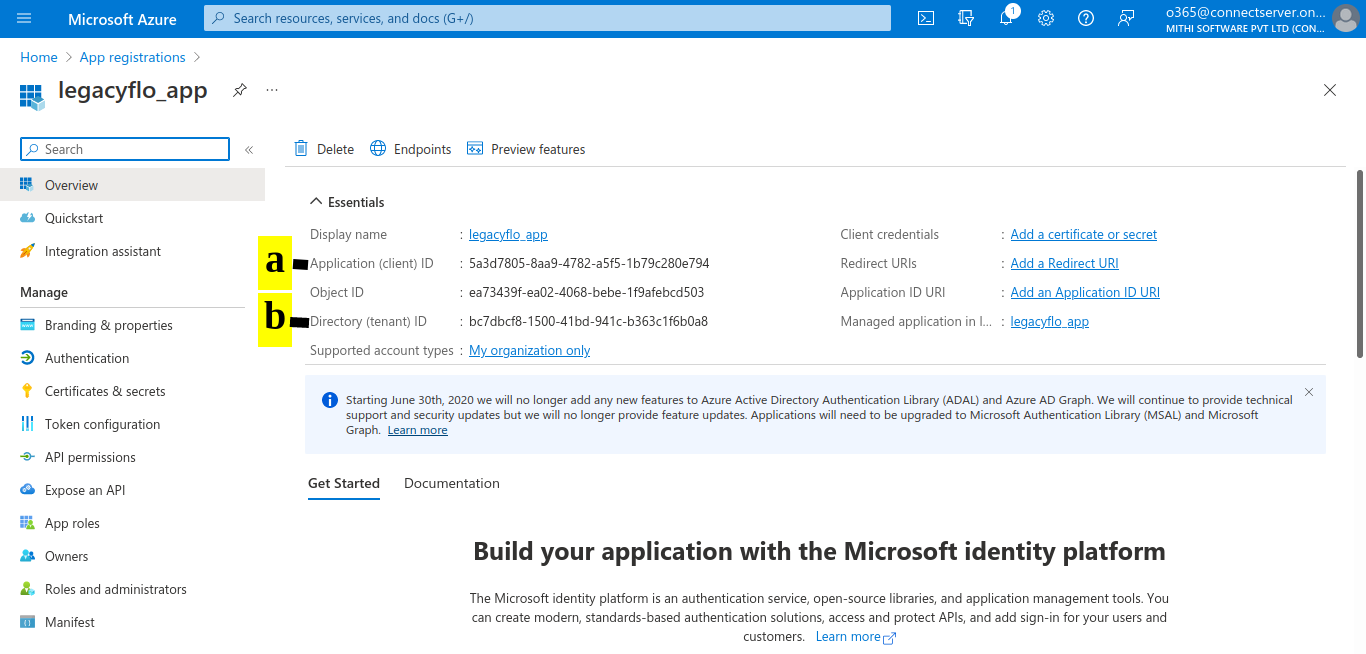
(a) Copy the Application (client) ID. This will be required when registering the API with LegacyFlo.
(b) Copy the Directory (tenant) ID. This will be required when registering the API with LegacyFlo
Save the ids in a note pad on your machine
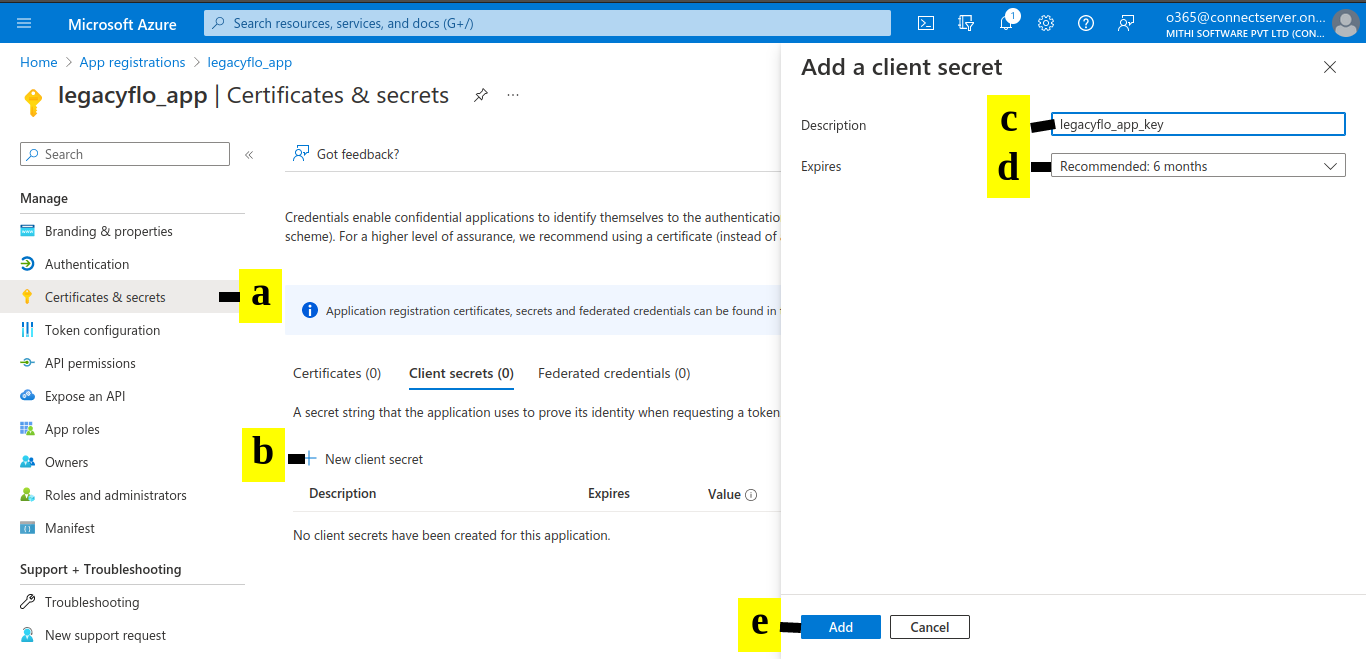
(a) For your newly registered application, select Certificates & secrets.
(b) In Client secrets, click on New client secret.
(c) Add a Description (legacyflo_app_key).
(d) Specify the Expires value.
(e) Click Add.
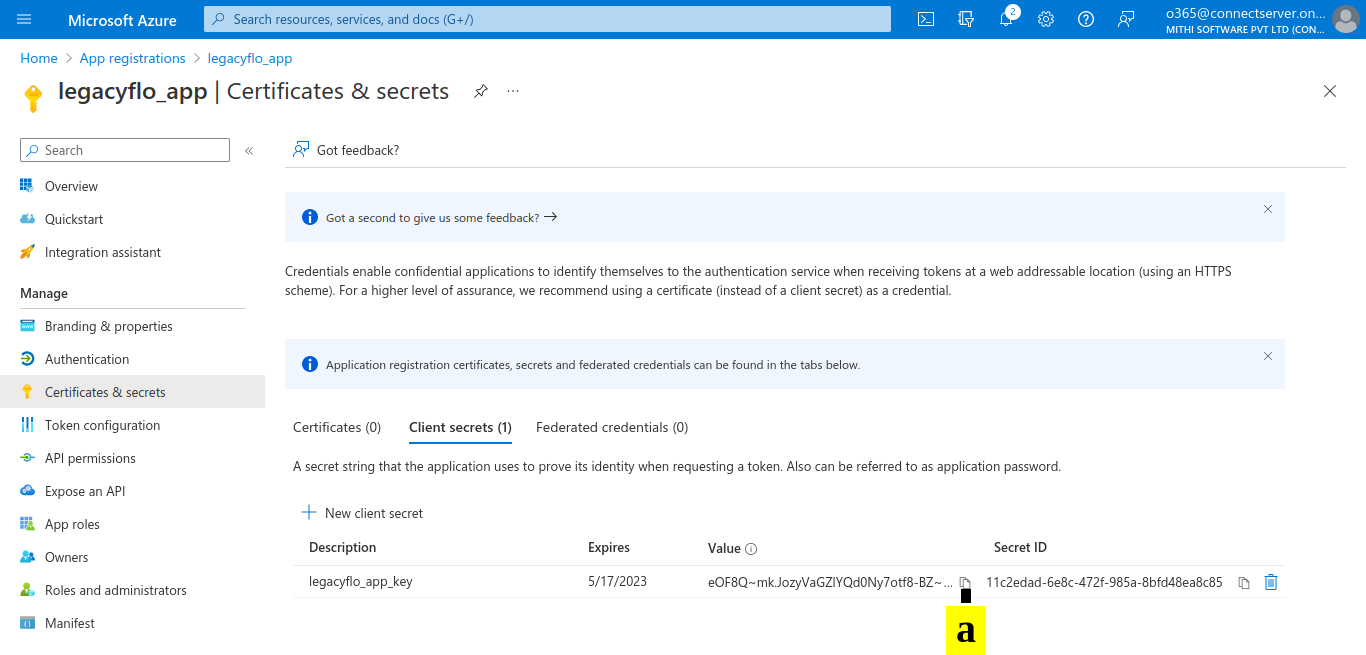
(a) Copy the Value to the notepad in which you have copied the application and directory ids. This will be required when registering the API with Vaultastic
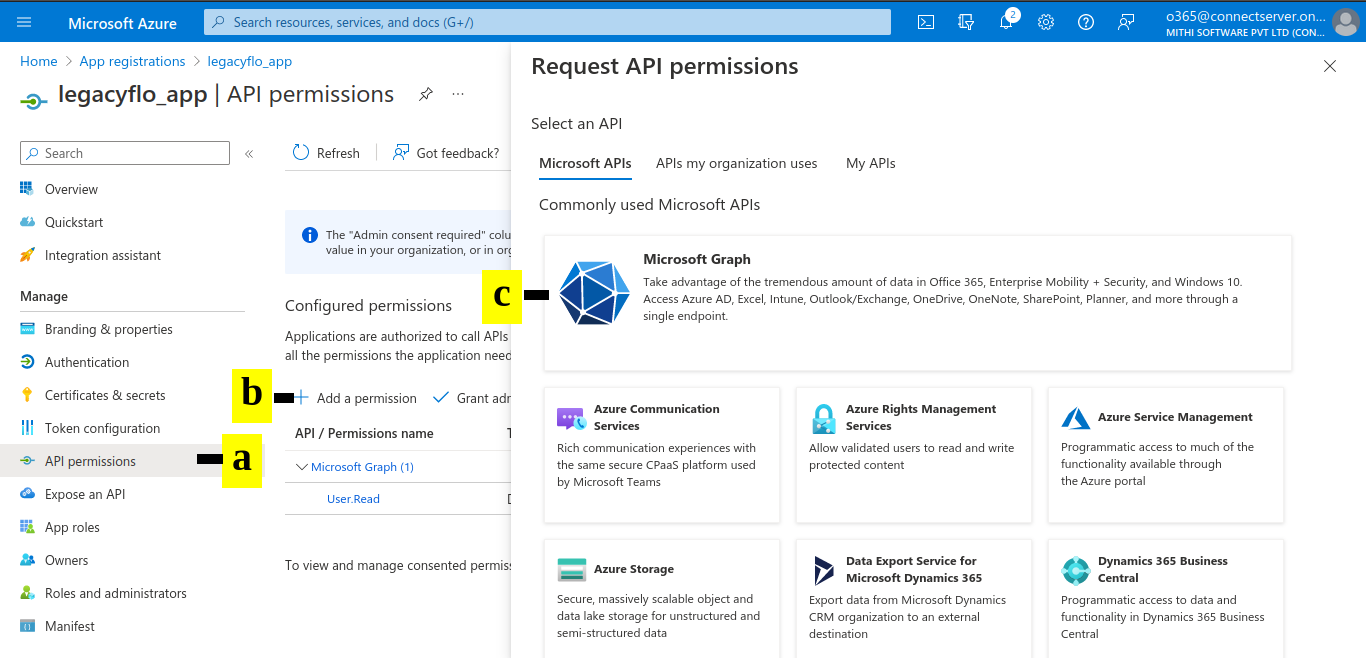
(a) In the Manage menu for the registered app, select API permissions.
(b) Click on Add a permission.
(c) Select Microsoft Graph.
The API permissions required will depend on the data which you wish to copy to a Vaultastic Store. Add the Application and Delegated Permissions as required depending on the data to be access.
a. Select the Application and Delegated Permission Type
b. Add the permissions as given in the table.
c. Select all the check boxes in the list below
d. Click Add permissions when all required permissions have been added.
| Data | Permission Type | Permissions | Sample Screen Shot |
|---|---|---|---|
| Mailbox | Delegated | User.Read.All Mail.Read.Shared/Mail.ReadWrite.Shared offline_access |  |
| OneDrive | Delegated | Files.Read.All/Files.ReadWrite.All offline_access |  |
| Distribution List Members (required by scheduler) | Application | Directory.Read.All |  |
| Teams | Application | User.Read.All Chat.Read.All Team.ReadBasic.All Channel.ReadBasic.All ChannelMessage.Read.All Sites.Read.All |  |
| Sharepoint | Application | Sites.Read.All |  |
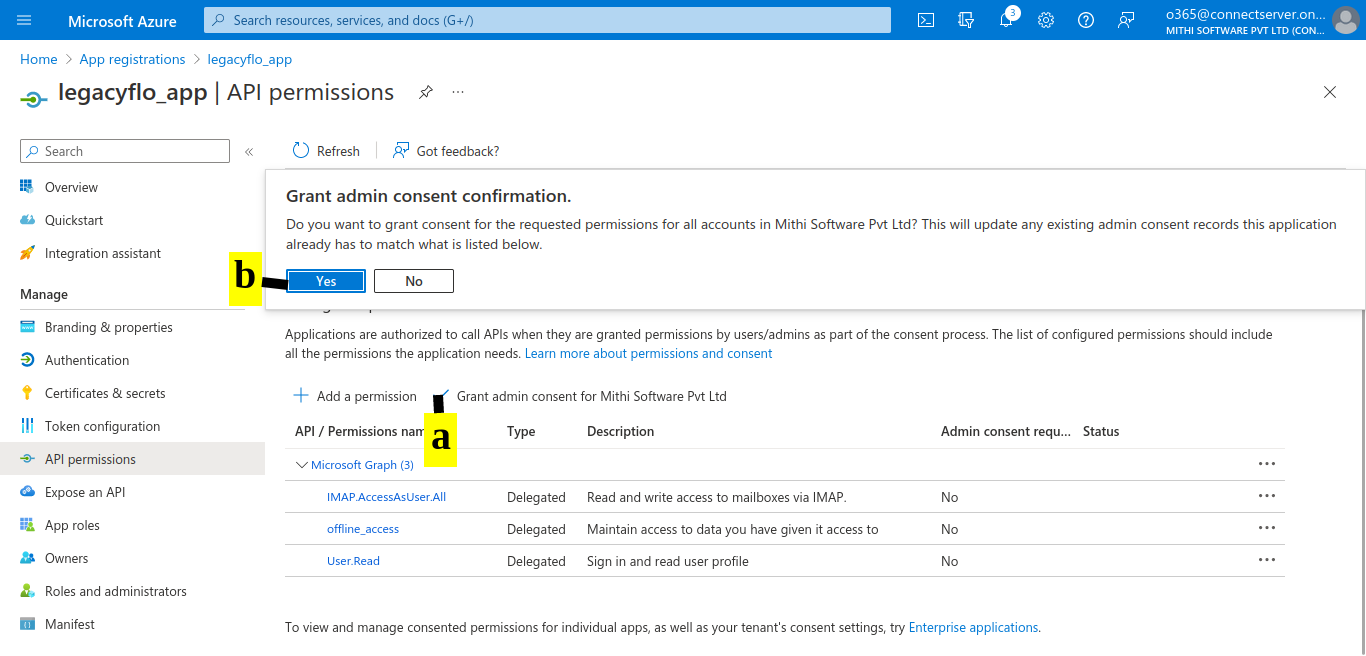
(a) Select "Grant admin consent for <Account Name>"
(b) On the Grant admin consent confirmation box, select Yes.
Step 2: Register the Graph API credentials with Vaultastic using the Setup Connectors application
- Login to your Vaultastic domain in a separate tab on the same browser and Navigate to the Setup Connectors application.
- Follow the instructions to register the keys.
NOTE 1: If a single key has been generated with access to all the services, then the key should be registered for all the relevant data types. If separate keys have been generated, then they have to be registered individually.
NOTE 2: For access to Outlook mailboxes and OneDrive, an additional step for delegating access to Outlook and delegating access to OneDrive has to be completed before data data upload or download.